Glazed Holiday Donut Cakes
Who doesn’t love donuts?
That’s a rhetorical question that I don’t actually want to know the answer to. It is the holiday season after all; who wants to engage in that kind of negativity?
In fact, the only things I don’t love about donuts is that #1 They are REALLY time-consuming and labor intensive to make and #2, It can be hard to find a retail/store front spot that does them ‘right’. I confess, I’m a bit of a donut snob and as such, I don’t think the pickings at most of the major chains in the US are particularly good. In my experience, you have a much better chance of finding a good donut spot at smallish, no frills, independently owned businesses that have been around for a while and only do a few things but they do them really REALLY well.

Of course, if you don’t have/feel like taking the time to make donuts from scratch and you also don’t have a place in your area that does them to your liking, there is also a third alternative/option: you could just make these instead.
Donuts are typically divided into two types: yeast donuts and cake donuts. Yeasts donuts are exactly what they sound like: they are made with yeast and as such they have a light/fluffy and chewy texture. Cake donuts are different in that they have n yeast and instead depend on other ingredients like baking powder and/or eggs to leaven them, they’re moistened with the addition of things like sour cream or buttermilk, and they have a shorter/denser crumb.

I’ve made both yeast donuts and cake donuts on the blog before, and they were both made the conventional way of frying. But for today’s post and Day 7 of the 12 Days of Christmas, I wanted to try something a little bit different (and much less labor intensive): a baked cake donut.

Baked donuts have a been a thing for a while, but I don’t have one of the special donut pans that will bake them in a typical donut shape. That’s alright though, because what I did have on hand were a set of small individual and inexpensive aluminum tart/pie tins that I divided the batter/’dough’ between, then arranged on top of a sheet pan lined with aluminum foil. (See below, where I’ve included the link to the ones I used in the recipe)
When I was making the batter, I also added in several spices to give it a special holiday flavor/flair.
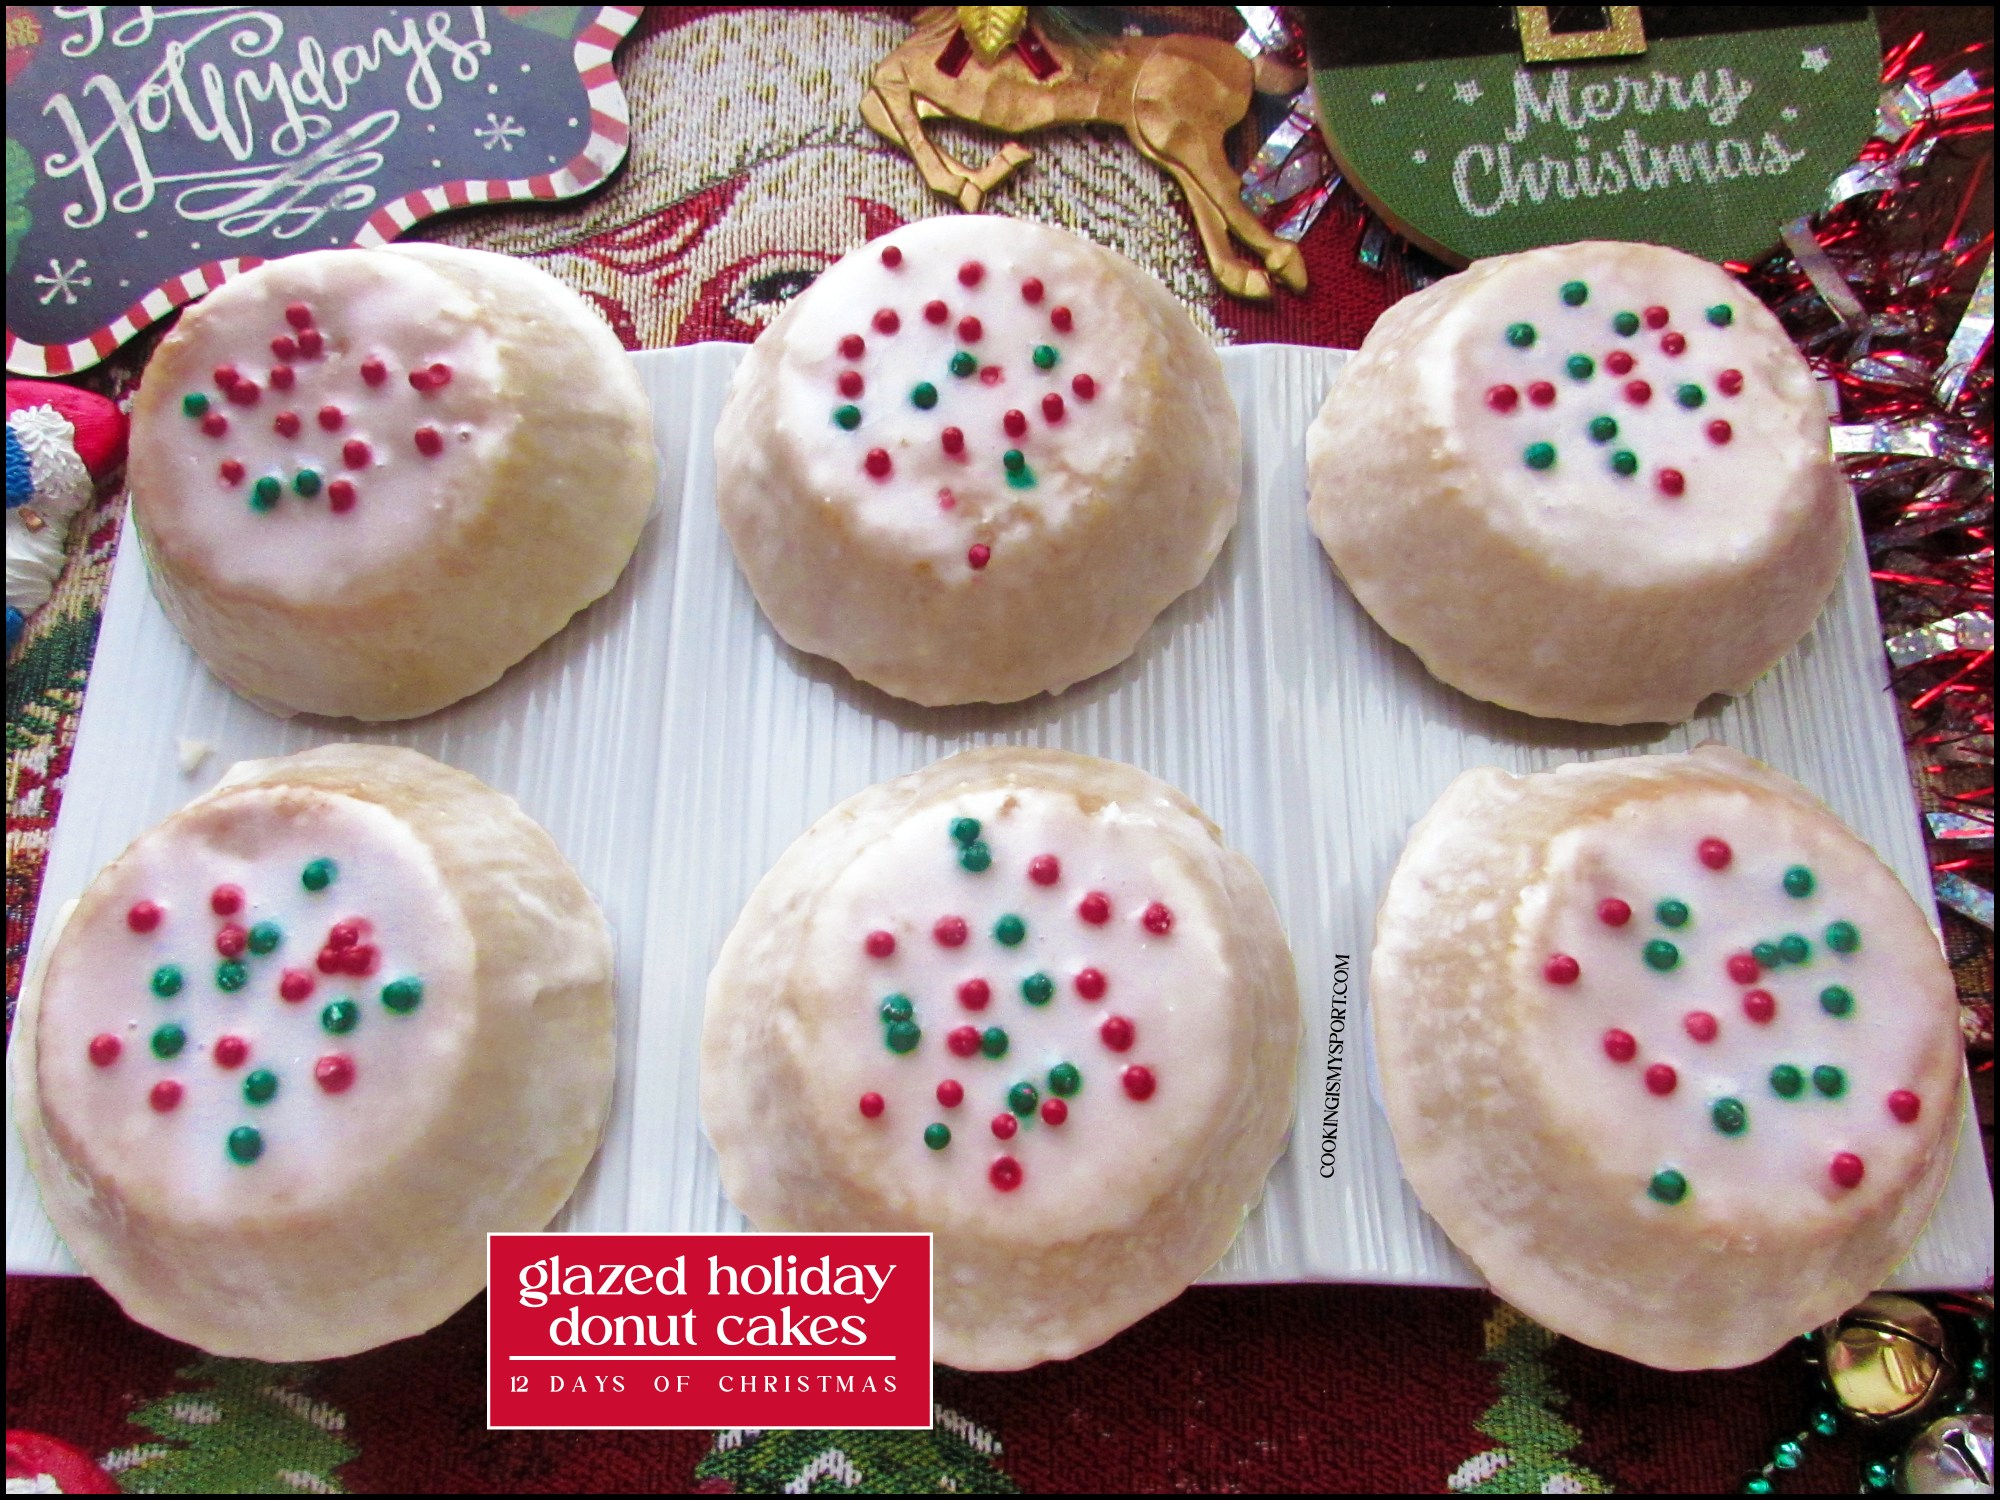
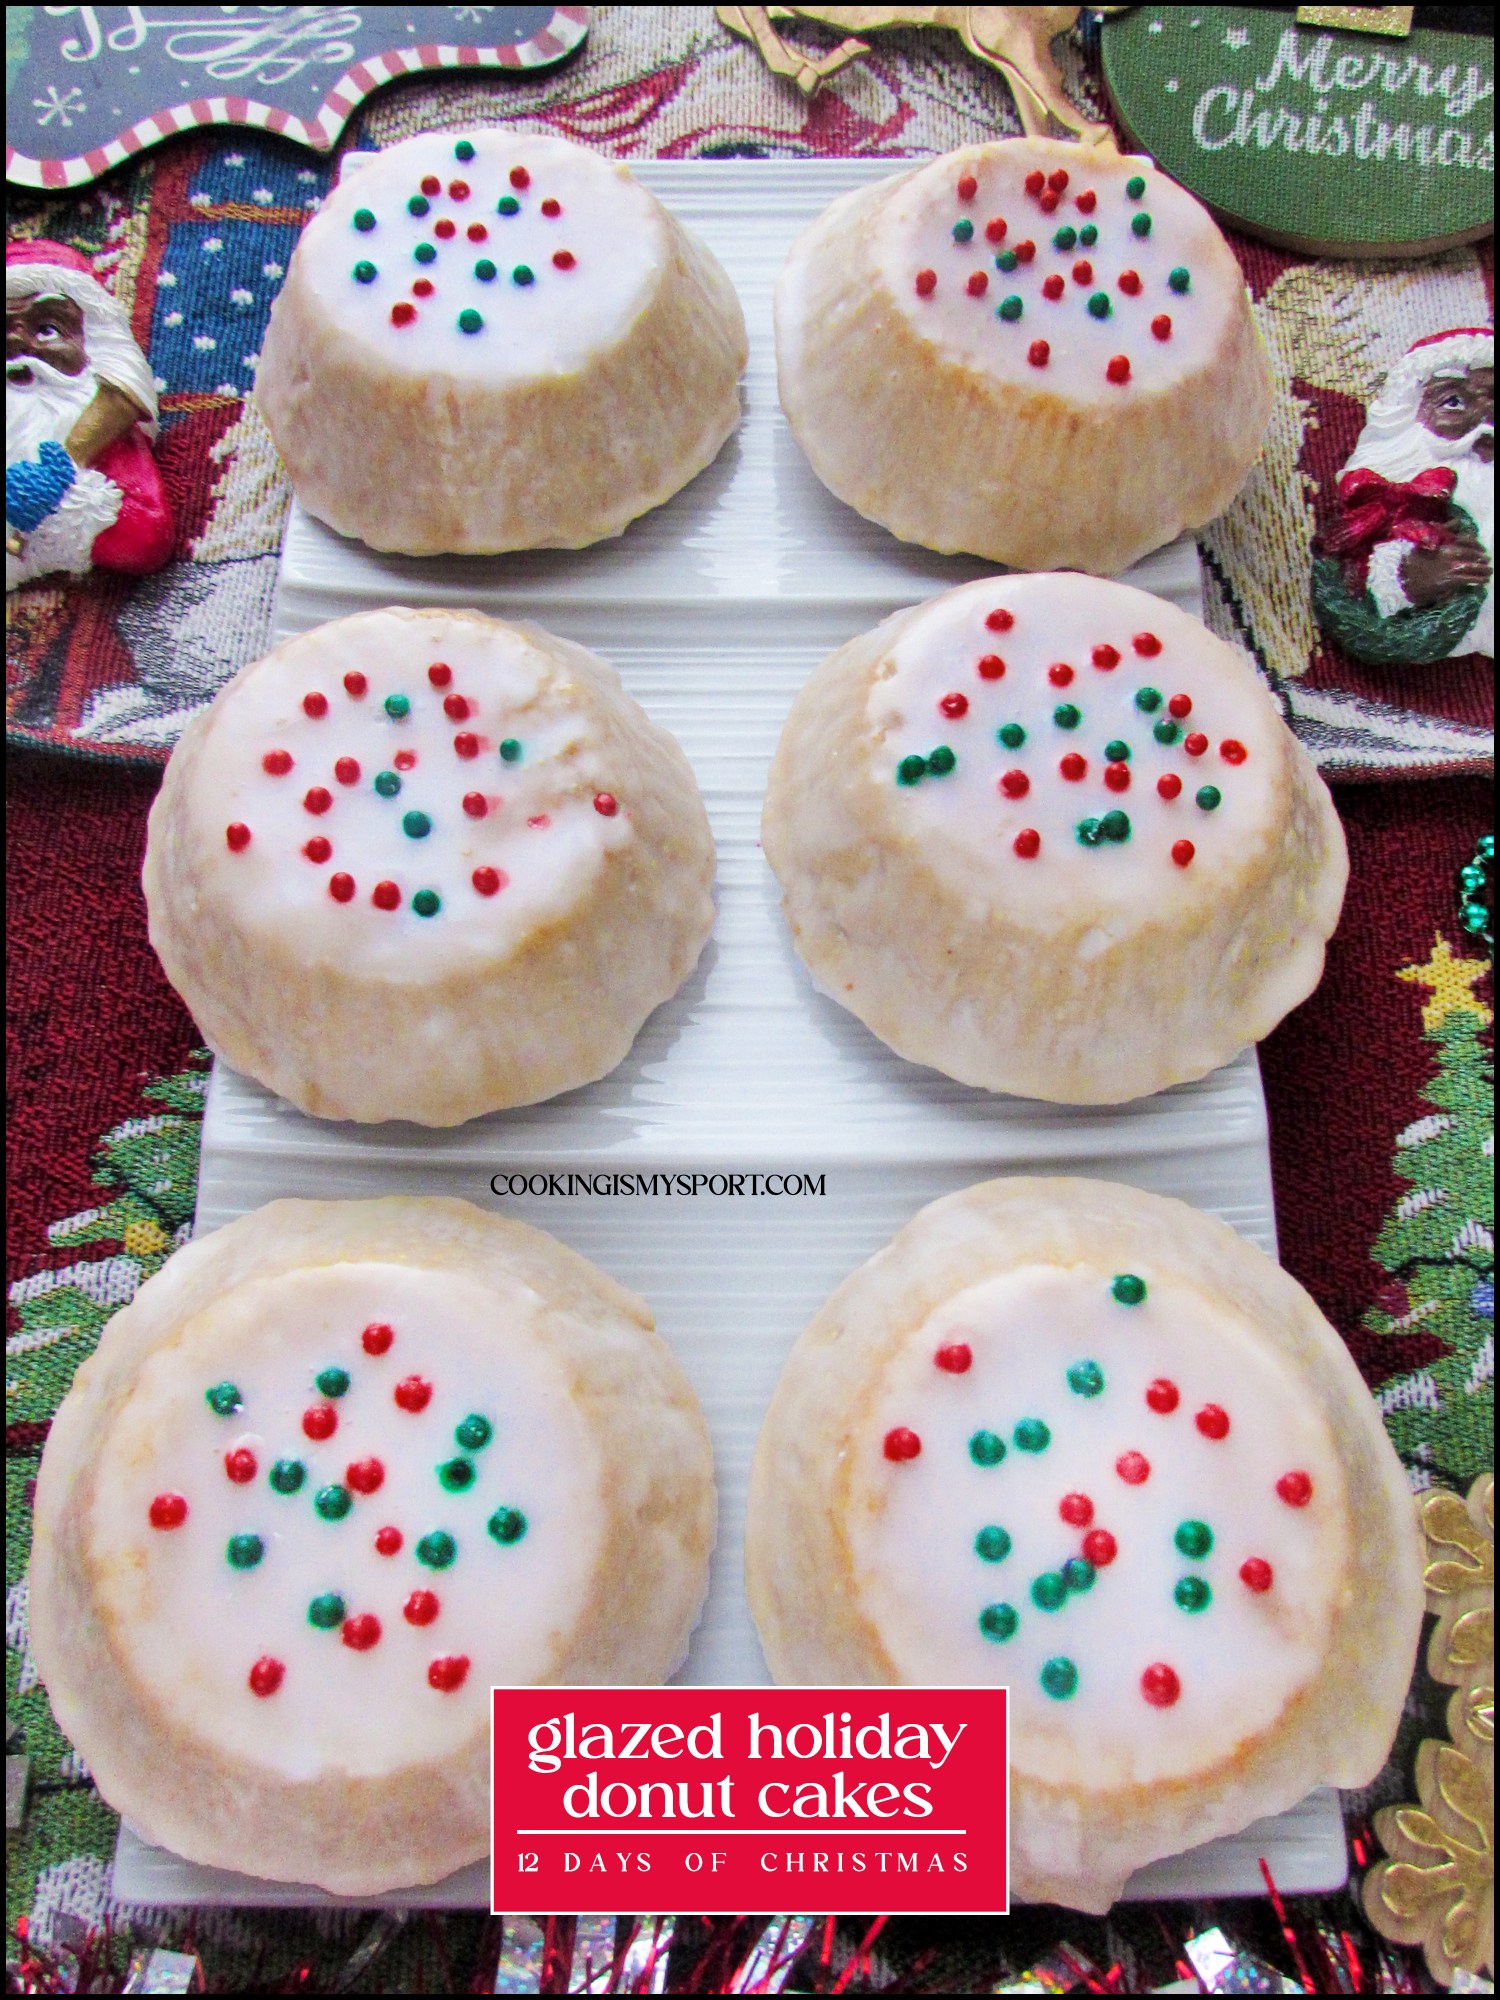
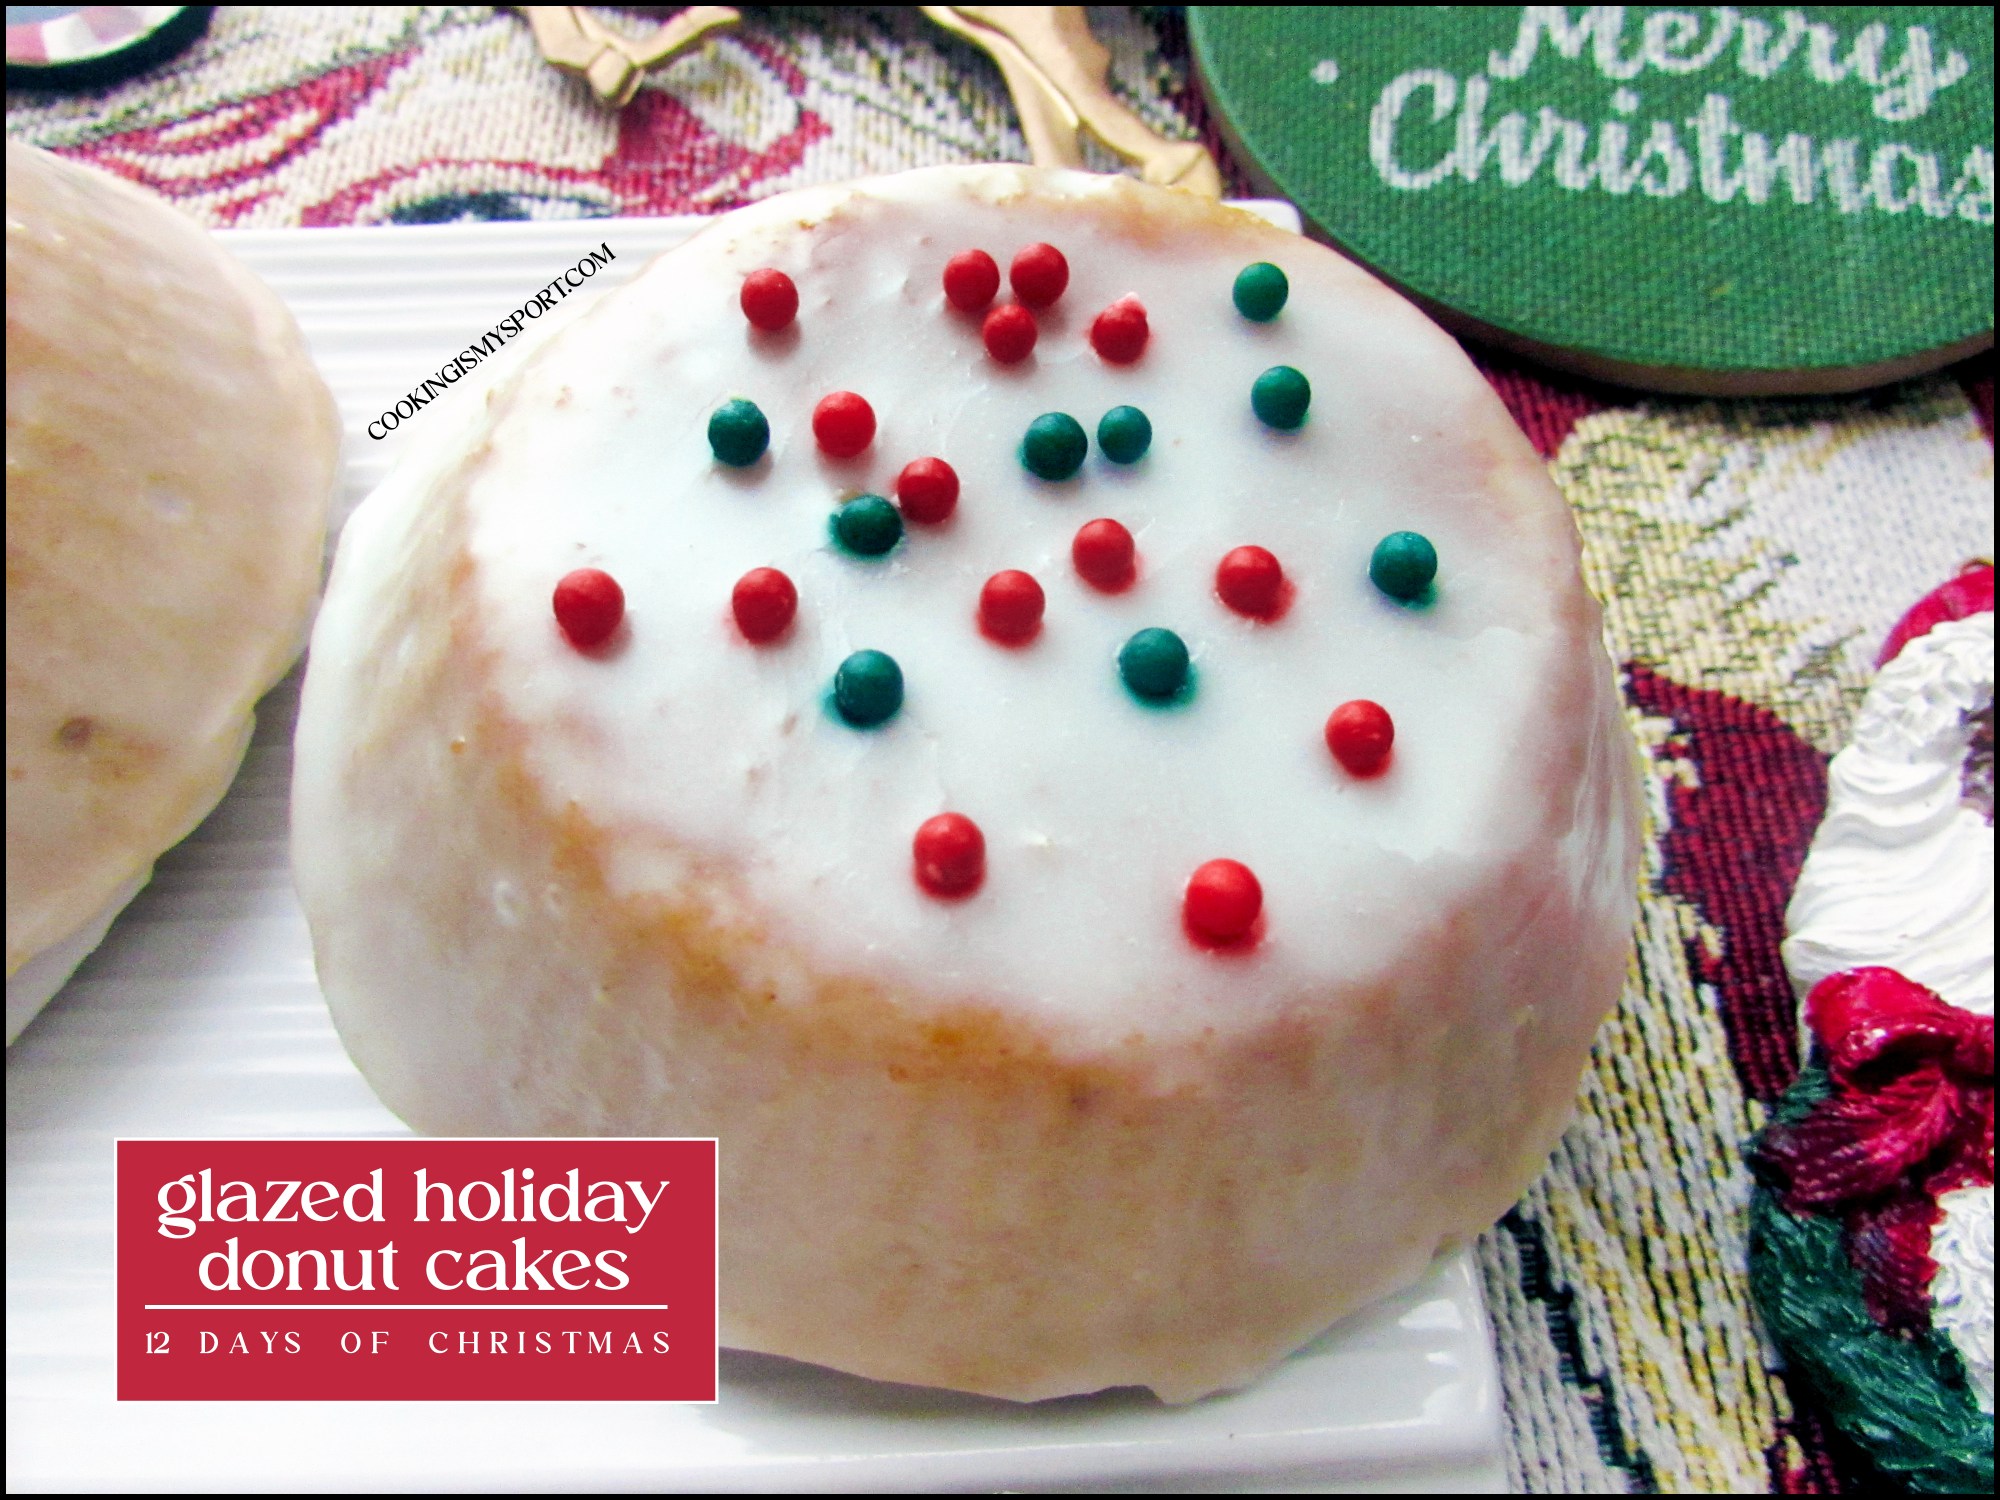
Whether it’s yeast or cake, my favorite way to enjoy a donut is when it’s covered in a thin and simple glaze. I saw no reason why I shouldn’t do the same for these, and baking them into mini dome-shaped cakes made this easy to achieve. While the cakes were baking, I prepared the glaze and after allowing them to sit in the pie tins for about 3 minutes, I turned them upside down and spread/poured the glaze over the tops, allowing/helping it to fall over the sides so that it covered the donut cakes completely. After adding a last bit of holiday cheer in the form of some sprinkles, I then allowed them to sit over a wire rack/sheet pan so that the excess glaze could drip off and the icing could harden.

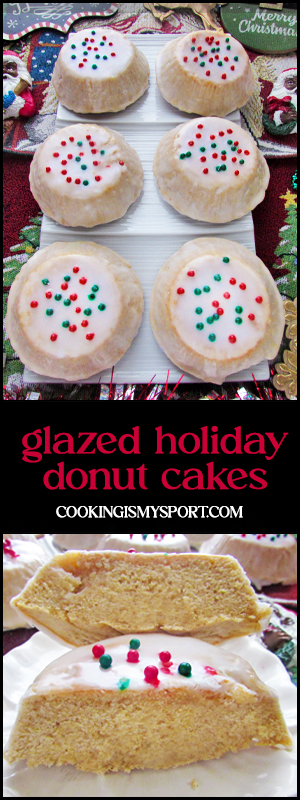
These were great. Like a good cake donut, the crumb for these cakes is short and dense, but the buttermilk and eggs give it a moist and fluffy texture that is very reminiscent of the traditional cake donut. The holiday spices filled the kitchen with such a tempting scent while they were baking. And when I added the glaze? Chef’s kiss. That first bite after they had finally finished setting was just what I was aiming for.
These would make great individual gifts for the holidays, or great individual desserts for a holiday dinner. Aren’t they cute and festive? Enjoy!
We’re officially over halfway through the 12 Days of Christmas–stay tuned for more holiday goodies, and don’t forget to check out the ones we’ve already made for this year’s series below 😉

Day 1: Browned Butter & Sweet Potato Biscuits
Day 2: Biscoff Dipped Butter Cookies
Day 3: Holiday French Toast
Day 4: Gingerbread Cinnamon Rolls
Day 5: Cider-Cinnamon Spritz Cookies
Day 6: Butter Pecan Biscotti
Day 7: Glazed Holiday Donut Cakes
Glazed Holiday Donut Cake
Recipe Adapted from Southern Living
Ingredients
For Cakes:
- 1 1/2 cups granulated sugar
- 1 1/2 cups (12 oz.) unsalted butter, softened
- 4 large eggs, at room temperature
- 2 tsp. vanilla extract
- 3 1/2 cups (about 14 7/8 oz.) all-purpose flour
- 2 tsp. baking powder
- 1 tsp. kosher salt
- 3 teaspoons ground ginger
- 1/4 teaspoon ground allspice
- 1/8 teaspoon ground cloves
- 3/4 tsp. ground nutmeg
- 1/2 tsp. baking soda
- 1 cup whole buttermilk
For Icing:
- 2 cups (about 8 oz.) powdered sugar
- A little less than a 1/4 cup water
- About a tablespoon of light corn syrup
- Holiday sprinkles, for decoration
Special equipment: 10-12 (5 oz.) disposable aluminum pie/tart pans. (I used these.)
Directions
Preheat oven to 350°F. Coat pie/tart pans thoroughly with baking spray. Line two baking sheets with parchment paper or foil and set aside.*
In a medium sized bowl, combine the flour, baking powder, baking soda, spices and the salt. Stir together with a fork and set aside.
Beat granulated sugar and butter with a stand mixer fitted with a paddle attachment on medium-high speed until pale and fluffy, 2 to 3 minutes, stopping to scrape down sides of bowl as needed.
With mixer on low speed, gradually add flour mixture to butter mixture alternately with buttermilk, beginning and ending with flour mixture, beating until just combined after each addition.
Spoon batter into prepared tart/pie pans; gently tap them counter 3 to 5 times to release air bubbles.
Place the pie pans on two sheet pans you’ve lined with aluminum foil.
Bake for 25-30 minutes, or or until a cake tester inserted into the center of the cakes comes out clean.
Meanwhile make the icing: In a medium bowl, whisk together all ingredients until smooth and well combined.
Line two sheet. pans with aluminum foil, and place two wire racks over them.
Once cakes are done baking, allow to sit in cake pans for roughly 5-7 minutes, until able to be handled without burning your fingers, or falling apart. Carefully remove a cake from its pan and turn upside down, placing on a wire rack.
Use a spoon to heap, and spread icing over the top of the cake, gently spreading around to completely cover the top and sides and allowing the excess to drip off and onto the aluminum foil lined sheet pan. Add the holiday sprinkles while the icing is still ‘wet’.
Repeat icing process with other cakes. Allow cakes to sit until icing has hardened, about 30-45 minutes.
Serve cakes with whipped cream, or with this Chunky Cranberry Applesauce.
*Note: You can also just make this as one large cake in a 10-12 cup Bundt pan. Just grease and flour the pan and up the baking time to around 45-50 minutes.
Sharing at Fiesta Friday #567.

Well these are certainly different, Jess!
Thanks Dororhty–they are different, but I promise it’s in a different tasty way 😉
I’m sure of it!