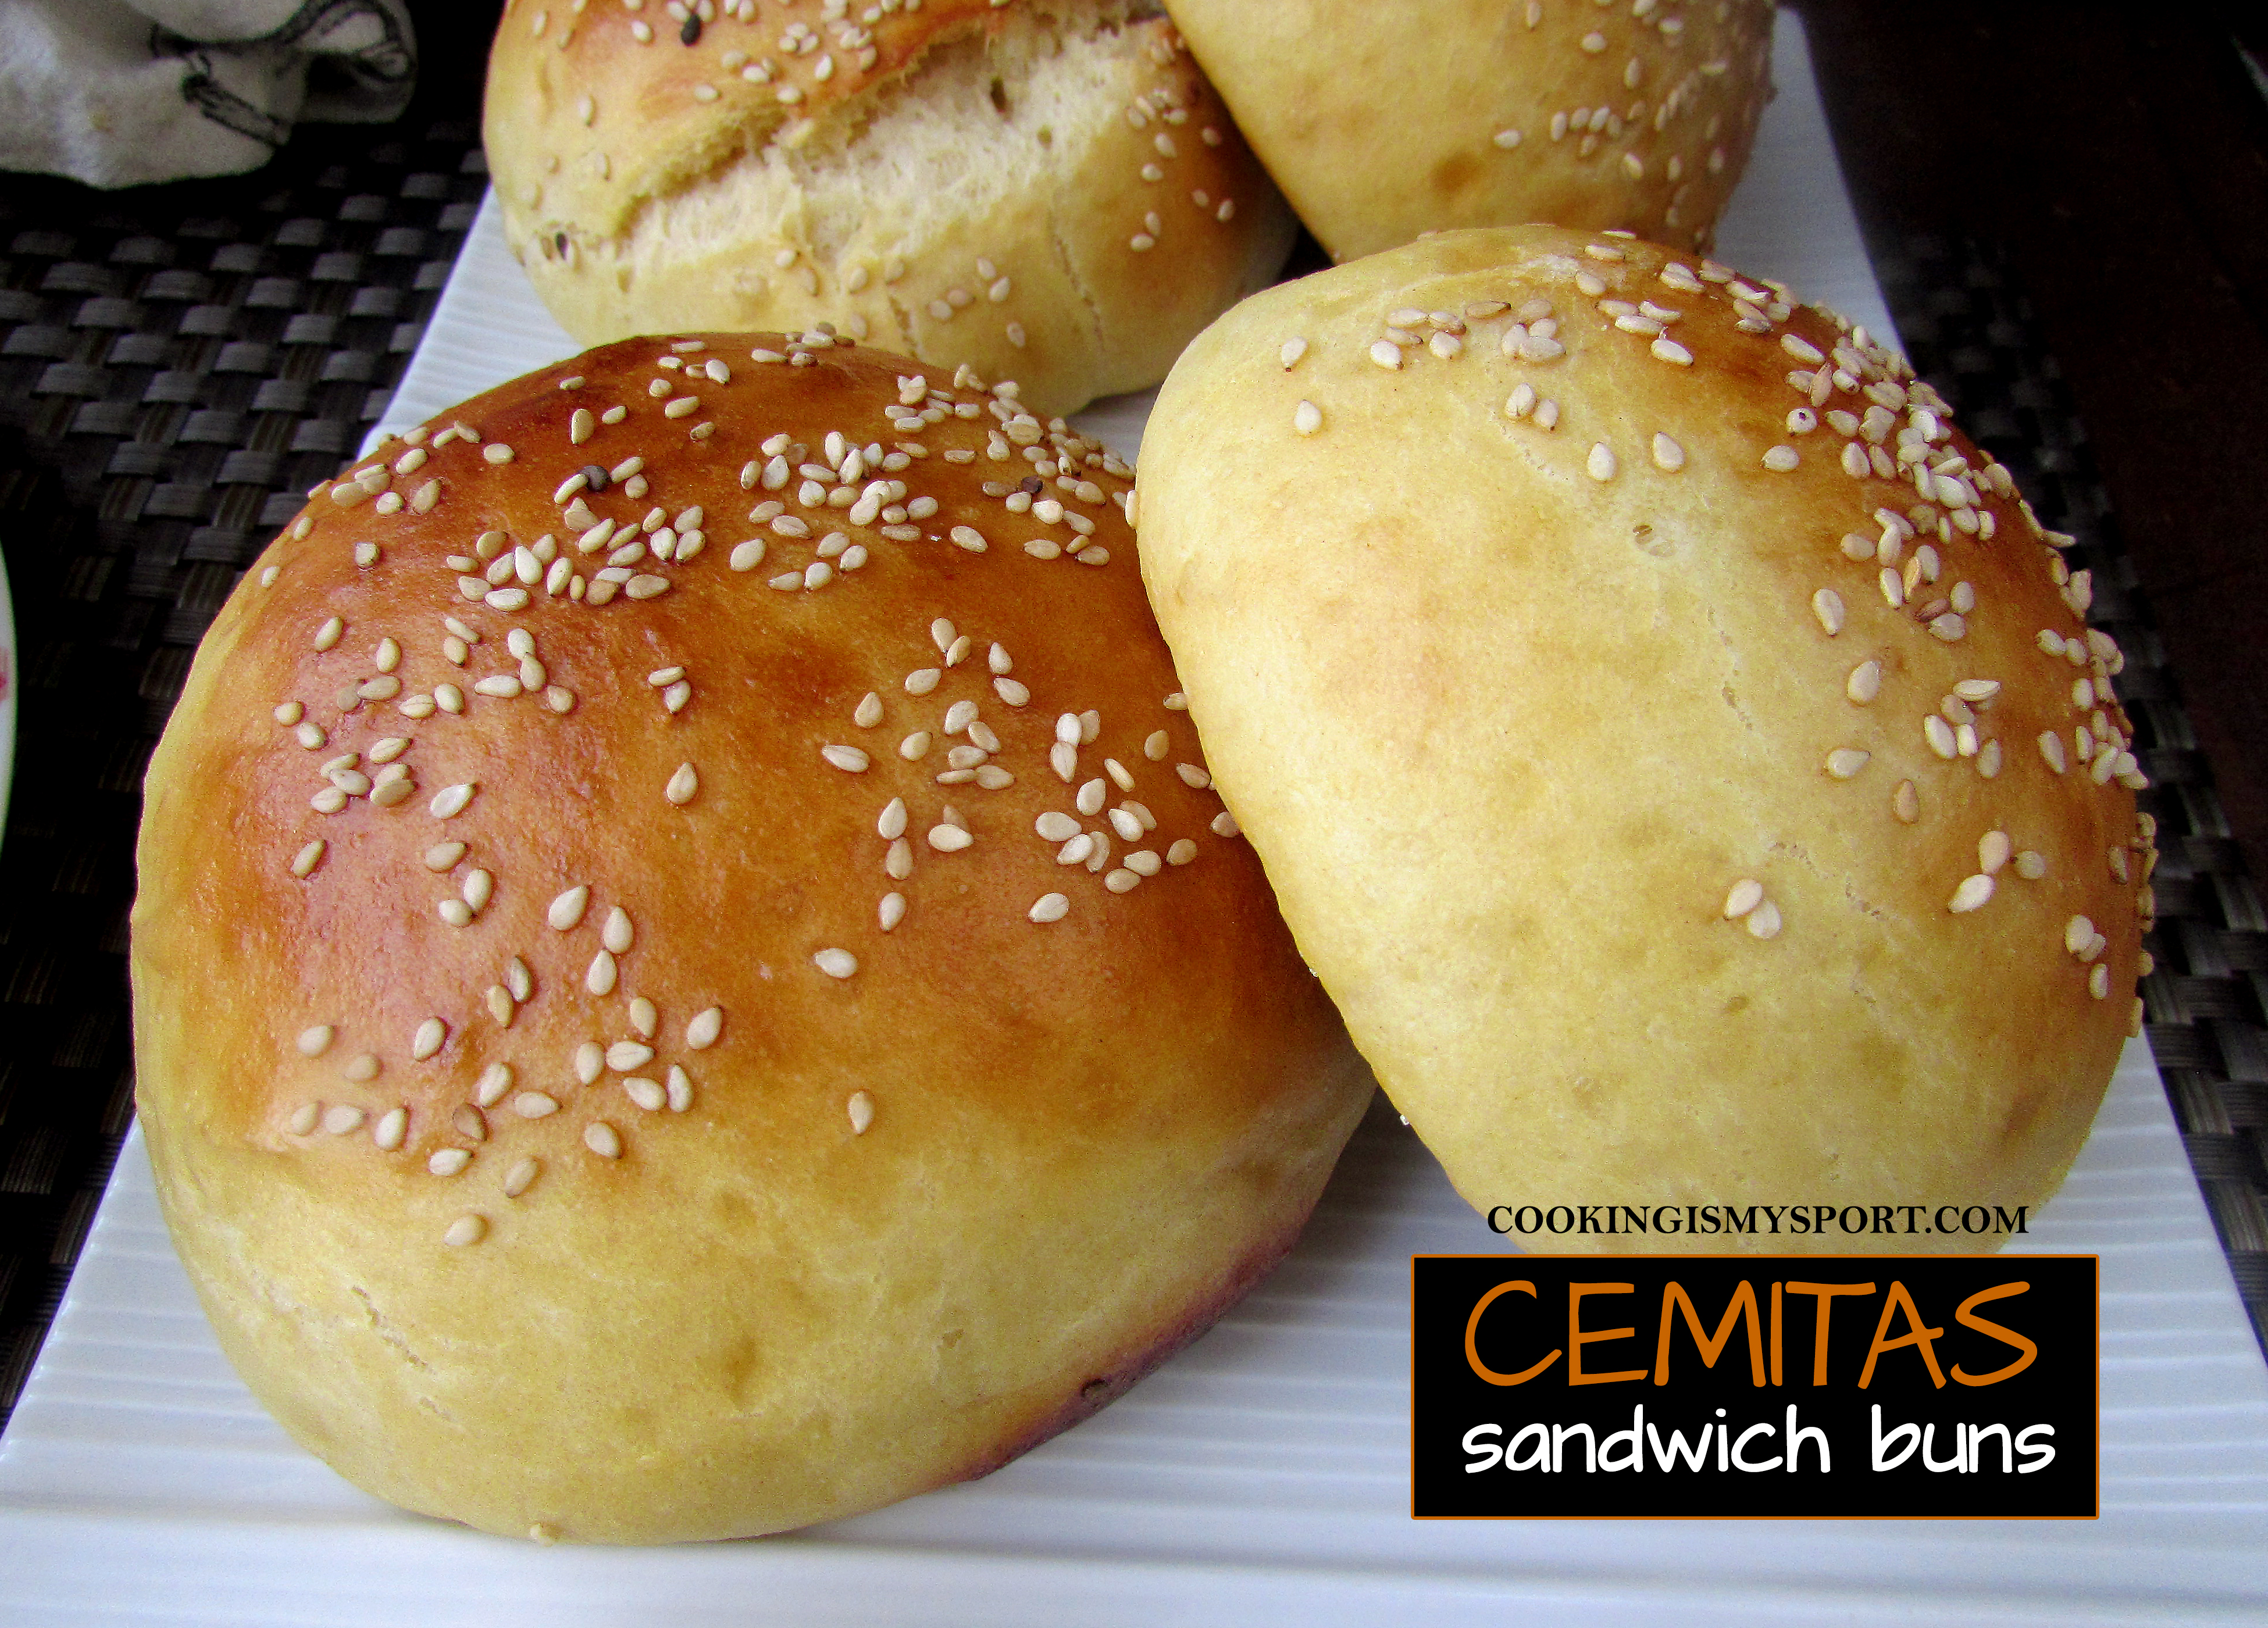
Cemitas Sandwich Buns

If you were to ask me for a valuable piece of advice when first starting out cooking, I’d try and boil it down to about three rules:
1 . Start with a basic dish with minimal ingredients and steps that won’t intimidate you. When I first started baking, my non-too-intelligent self decided my first dish was going to be my grandmother’s angel biscuits. Big mistake. It didn’t work for a number of reasons but first among them being that making biscuits is both science and an art form. It took me a while to get good at it. Later on after that first failure, I downsized to trying out easier recipes like quick breads and brownies–these are baked goods that are very difficult to mess up.

2. Read the whole recipe before you start cooking. This one is so important that I’m thinking maybe I should’ve listed it first. I’ve been cooking an`d baking for several years now and this is still a rule that I have to remind myself of when making lengthy recipes like layer cake that have a lot of steps and ingredients. There’s nothing worse than getting started on a dish and getting to the fourth or fifth step and discovering that you’re missing something, or that you needed to spread it out over 2 days rather than try to make it all in one go.

3. Be patient–both with yourself and the food. Nobody starts out cooking like Bobby Flay or baking like Hedy Goldsmith. Even they have days where things go wrong in the kitchen. Give yourself room to mess up and learn from your mistakes. Also, let yourself get more comfortable with allowing the time for letting flavors develop. I’m not a huge fan of most 30 minute or less meals largely because in my opinion, unless you’re a veryveryVERY talented cook, spices simply need more than 30 minutes to infuse into food. It may be easier to put together in 30 minutes, but wouldn’t you rather it taste better?

Cemitas are a Mexican sandwich that come from Puebla. A piece of meat (such as beef, chicken or pork) is pounded thin, dredged in flour and breadcrumbs, then fried in oil in a skillet until golden brown and crispy. The meat is then layered with cheese, avocado, chipotles and tomato. It all gets placed a on a round sandwich bun that gets sprinkled with sesame seeds.

As it turns out, today’s recipe required me to fall back on all three of the basic rules I just gave. There are a minimal amount of ingredients involved with it and so far as bread recipes go, it’s one of the simplest you could make. Rules 2 and 3 come in for two reasons. First, it’s important that you read the entire recipe beforehand because the first rising runs much,much longer than the average time. I’m relieved that I took my own advice and looked ahead to see that the first rise lasts a whopping 4 hours. This seems excessive, but the dough needs enough time to more than double in size; more like, double and a half. Because it did require such a long rising time and we wanted to have these for dinner, I did wake up early to put the dough together and give it time to rise.
After that first rise, the dough is divided into smooth balls of dough and left to rise again for one more hour. They will then get a sprinkling of sesame seeds and go for a quick bake in the oven.
The buns rise with perfect domes and puff up HUGE in the oven, making them the perfect size for a slab of meat and all the fixings you want to pile on top of it. They’re soft and fluffy on the inside, yet sturdy enough to where you can create the sandwich of your dreams without having to worry about the bun being too flimsy to support the stuff inside. Even if you’re a beginner when it comes to baking bread, I’d still say this was something you could try and expect to have good results–honestly, the hardest part is the wait. And these buns were WELL worth that 😉
Sharing at this week’s Fiesta Friday #206, co-hosted this week by Diann @ Of Goats and Greens and Shinta @ Caramel Tinted Life.
***********************************************************
Cemitas Sandwich Buns
Recipe Adapted from Serious Eats
Ingredients
- 2 1/2-3 cups all purpose flour
- 8 ounces heavy cream
- 3 eggs, divided
- 1 1/2 teaspoons dry active yeast
- 1 1/2 teaspoons kosher salt
- 3 tablespoons white sugar, divided
- 1/4 cup sesame seeds
Directions
In a small saucepan, heat the heavy cream over low heat on the stove until about 120-130°F. Sprinkle the yeast on top of heavy cream, and one tablespoon of the white sugar on top of the yeast. Allow to proof for about 10 minutes, until frothy.
In a small bowl, beat 2 of the eggs together lightly with a fork, set aside.
Combine the flour with the salt and mix together with a fork. Set aside.
Pour the heavy cream-yeast mixture into the bowl of a standing mixer, then pour in the beaten eggs. Mix together with the paddle attachment until just combined. Switch to the dough hook, then add the dry ingredients. Allow to knead for about 5-7 minutes. The dough will and should still be sticky, but if it’s not coming together in at least homogeneous mass, you can add more flour, about 1/3 cup at a time until it is one.
Grease the bottom and sides of the mixing bowl. Place the dough inside, cover with a piece of plastic wrap, then a damp kitchen towel. Allow to rise in a warm place until grown 1 1/2 times larger, about 4 hours (yes, 4 hours, so plan ahead accordingly).
Sprinkle a work surface with flour, then turn dough out onto, it gently deflating air bubbles. Shape into a ball, then divide the ball in half. Divide each half into 3 pieces, giving you a total of six. Shape each piece into a smooth ball.
Lay a sheet of parchment paper onto a sheet pan, then place each bun seam side down onto the paper. Cover with plastic wrap and a damp kitchen towel and allow to rise in a warm place until doubled in size, about 1 hour.
Preheat oven to 450°F. Place a shallow pan of water on the bottom rack of the stove.
In a small bowl beat remaining the egg and 1 tablespoon of water. Brush over the buns and sprinkle with the sesame seeds. Bake until deep golden brown, 12-15 minutes. Remove from oven, allow to cool on pan for about 60 seconds, then remove to a wire rack to cool completely.


Lovely buns ! Thanks for the recipe !!
Thank YOU for liking and commenting Megala, I hope you enjoy the buns 🙂
Great tips, and fabulous buns 😊😊😊
Thanks Elaine!
I need to try these. They look absolutely perfect! Beautiful photos! ❤️❤️
OMG, Prudy! So good to hear from ya again–I’ve missed seeing your kind words. And yes ma’am–you DO need to try these buns, they’re soooo yummy 😉 <3
Nice buns. You should also leave dough to rise for a few hours to develop flavour. I start dough either the evening before so it prooves overnight for a morning bake or in the morning and bake at 3 or 4 pm.
Thanks for the tip and for stopping by!
I love cemita sandwiches, but of course I would have no clue where I could pick them up! Making your own sounds wonderful!! And I love your advice.
Thanks Mollie, I confess I’ve never had a cemita sandwich before, but I think these buns would be good for just about any sandwich you wanted to make 🙂
They’re messy and amazing but I think they have them in places all over CA. In the Midwest, not so much. Maybe you’ll be making one, now?!
Nice buns! Makes me want to grill a cheeseburger! 😀
I know, we actually DID make hamburgers to go with ours lol Thanks Debbie!