Chicken Pot Pie

I didn’t initially plan on sharing this recipe this week, but with the way that the weather’s been going lately in my corner of the country, it felt like an appropriate time to break out some comfort, stick-to-your-ribs food, and this one’s pretty much at the top of that list.

I attempted to make chicken pot pie for the blog several years ago, and it didn’t really turn out at all. Rather than accept complete defeat, I improvised on the fly and still came out with what I thought was a pretty tasty meal anyway.
But the L I took that day still bothered me. I wanted to make it right.

It’s taken me a while, but I finally think that I have.
When it comes to chicken pot pie, there’s not a lot of wiggle room for error. You can’t lean on one ‘element’ of the dish more than the other. You may have a great crust, but if the filling is bland/soupy/off, it won’t really matter. You may have a great filling, but if the casing is wack, then you’ll just be trying to eat ‘around’ it, which makes for a less than ideal eating experience.
Both the crust and the filling of a chicken pot pie have to be good, or the whole thing is going to bomb.

Making a good filling or crust for any kind of pie comes down to two things: seasoning and time. Salt and pepper alone for a pot pie filling don’t cut it for me; bay leaf, herbs and onion powder are musts. And even after the filling’s been seasoned, the flavor needs time to become more pronounced and tasty. Plus, the colder the filling is when you bake the pie, the better the bottom crust will brown and actually cook through instead of just becoming mushy/soggy.

Flaky pie crust comes from chilled and relaxed pie dough with big flecks of butter spread throughout. Relaxed pie dough is dough that’s been chilled for a while and gone even longer without being touched or handled. This takes time.
Making chicken pot pie isn’t difficult, but my recommendation for the actual labor of the dish is to spread it out across two days. Make the filling and the pie filling on Day 1, and let them rest overnight in the fridge. This will chill and relax the pie dough long enough to make it flaky, and it will allow the filling to grow cold enough to fill the pie but not soggy-ify the bottom crust, and most importantly, to develop maximum flavor.

On Day 2, the only thing there’ll be left to do is roll out the dough into the pie dish, fill the pie, then roll the second crust on top. The whole process of assembly takes less than 30 minutes, and in give or take another hour, you have what is a pretty amazing dinner if I may say so myself.
Chicken Pot Pie
Pie Crust Recipe Adapted from Food52, Filling recipe by Jess @CookingisMySport
Ingredients
For Pie Crust
- 2 1/4 sticks (254 grams) unsalted butter, frozen
- 2 cups (256 grams) all-purpose flour
- 1/3 cup (40 grams) whole-wheat flour
- 1 1/2 teaspoons kosher salt
- 1 teaspoon granulated sugar
- 1/2 teaspoon freshly ground black pepper
- 6 tablespoons very cold water, plus more if needed
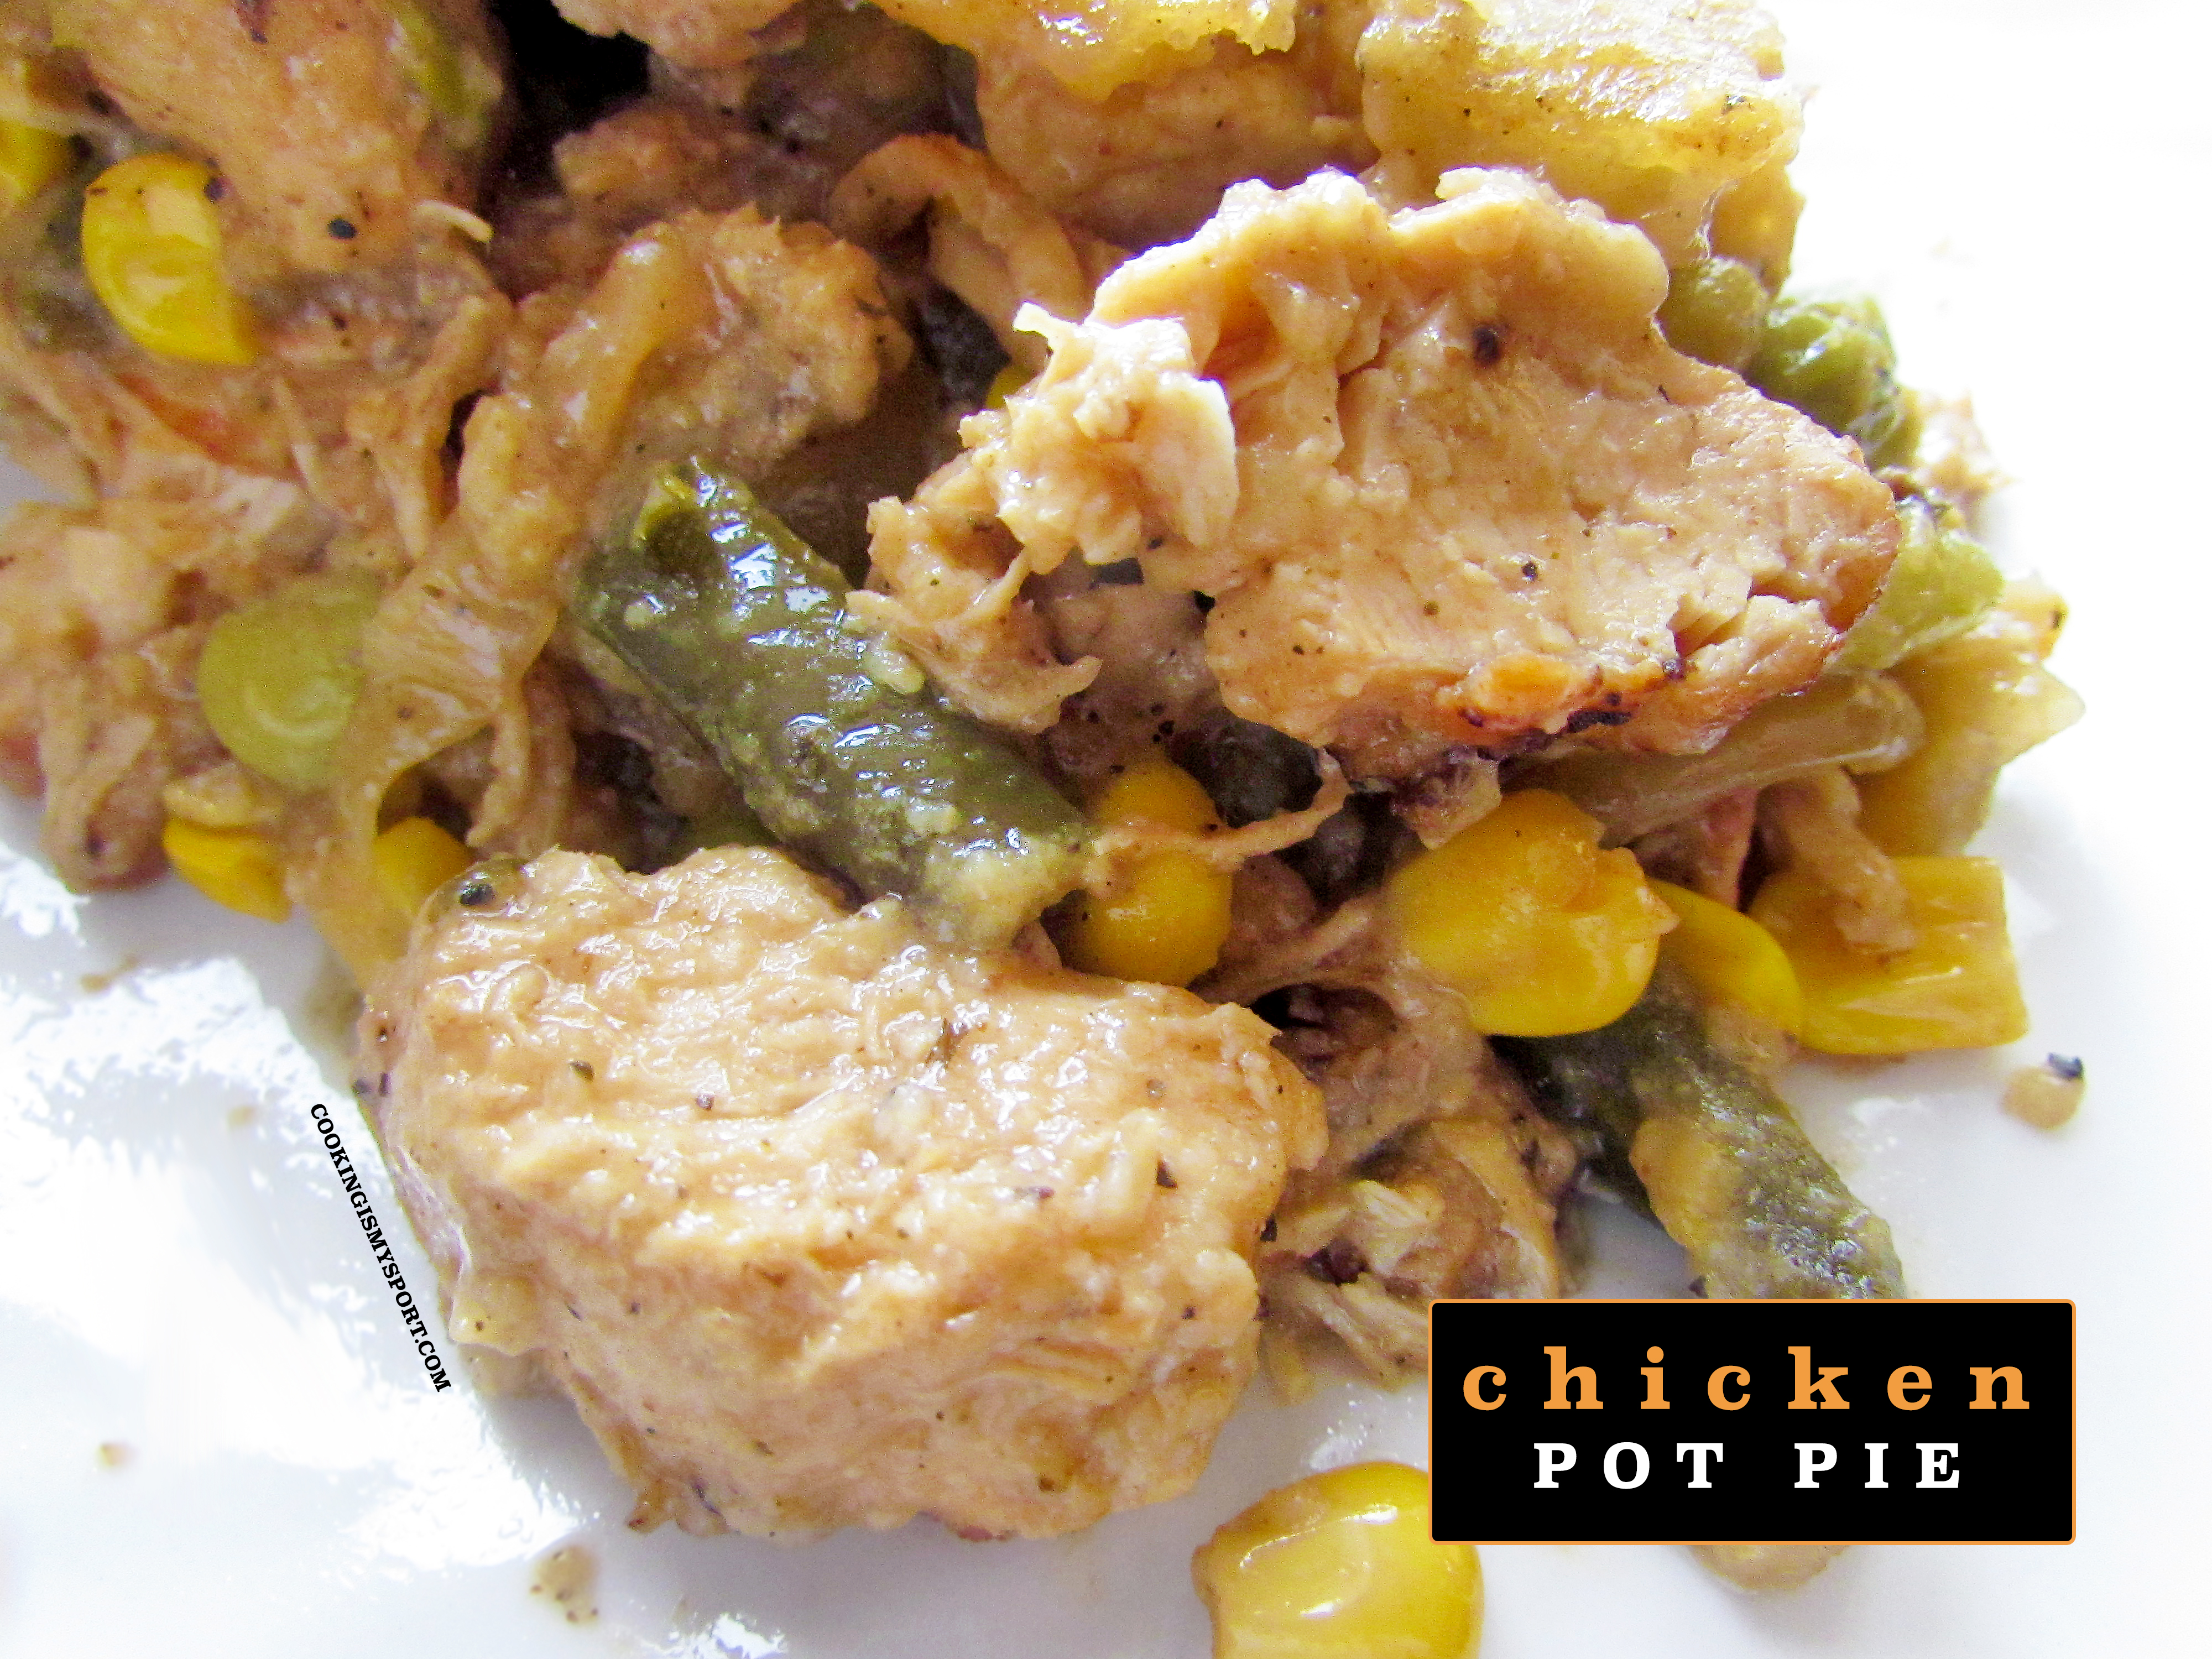
For the Filling
- 6 tablespoons unsalted butter, divided
- 1 large sweet onion, diced
- 1 16 oz. bag of frozen mixed vegetables
- 3 cloves garlic, minced
- Salt and freshly ground black pepper
- Onion Powder
- 1/2 cup all-purpose flour
- 3-4 cups chicken stock*
- 1 bay leaf
- 2 large sprigs rosemary
- 4 sprigs thyme
- 1/2 tbsp-1 tbsp. honey mustard (depending on taste preference)
- 4 cups chopped, cooked chicken (about 1 large rotisserie chicken)
Directions
For Pie Crust:
In a large bowl, combine the flours, salt, sugar and black pepper. Use the large holes on a box grater to grate the butter directly into the dry ingredients, and stir together with a fork. Add the water, adding more tablespoon by tablespoon if needed just until it holds together.
Dump the dough onto a lightly floured work surface and divide into two portions. One should be slightly larger than the other. The larger one will be our bottom crust, the smaller one will be the top crust. Wrap both of these blobs in plastic, then press down to form a well-sealed disc. Refrigerate for at least 2 hours before rolling and assembling the pie. (I typically let mine rest overnight)
For Filling
In a large pot, heat 2 tablespoons of butter over medium heat. Add the onions and sweat until the onions are translucent, 5 to 6 minutes. Remove to a small bowl and set aside.
Heat remaining 4 tablespoons butter over medium heat. Once melted, whisk in the flour. Cook until the mixture is just starting to turn golden brown, 2 to 3 minutes. Gradually whisk in the chicken broth.* (The amount of chicken broth you use here is going to depend on how ‘runny’ or thick you want your pie filling to be. If you’re unsure, I would start with 2 1/2-3 cups, then gradually add more if after adding the chicken and veggies you think it’s a little thick. Also remember that it has to refrigerate, which will also make it thicken.) Bring the mixture to a simmer.
Add the onions, bay leaf, rosemary, and thyme. Season with salt, black pepper, onion powder and the honey mustard. Allow to simmer for a further 10 minutes, tasting adn adjusting for seasoning.
Add the frozen vegetables and allow to simmer for about 10-15 minutes, just long enough to warm the veggies through. Stir in the chicken.
Remove from heat and allow to cool completely. Remove to a resealable container and refrigerate until cold, preferably overnight.
Preheat oven to 425°F. Take the pie dough discs out of the fridge, unwrap, and let hang out on a lightly floured surface for a few minutes.
Roll out the larger disc into a 12-inch circle and set into a 9-inch glass deep dish pie pan. Use your fingers to gently press the dough into the corners of the pan, so it’s as snug as can be. Roll out the smaller disc into a 10- to 11-inch circle. Fill the dough-lined pie pan with the cold chicken pot pie filling and use a spoon to smooth out to fill the pan completely. Top with the smaller round of pie dough. Trim any excess so you have an even ¾-inch overhang. Use your fingers to squeeze the two layers together, then fold the overhang under itself, so the edge is tucked into the pie pan and a ridge is formed. Use your fingers to reinforce this ridge, so it’s distinctly shaped, then crimp the edge of the pie crust into ruffles. The easiest way to crimp is by creating a guide with the thumb and pointer finger of your left hand, then pushing the dough outward with the pointer finger of your right hand. (If you’re a lefty, flip accordingly.) Use a paring knife to cut four slits in the center of the top crust. Place the pie pan on a rimmed sheet pan (this makes getting in and out of the oven a lot simpler).
Bake for 65 to 70 minutes (rotating halfway through), until the crusty is deeply golden brown. Let sit on a cooling rack for at least 30 minutes—the filling will still be very warm, but not too liquidy.
Cut into big wedges and serve warm.

Sharing at Fiesta Friday #418.


Sounds great. I love Chicken pot pie. I’ve made it with green chilies, too.
Thank you! Adding green chiles to pot pie is a great idea 🙂
Looks lovely. Chicken pot pie was my favorite dish as a child!
Thanks Dorothy, it’s still one of my favorites 🙂
Your crust is beautiful. Now I’m hungry and book marking this for later
Thanks Kristie! Hope you enjoy 🙂