Golden Sandwich Rolls

I have a theory. I can’t prove it beyond question but, I just don’t think I’m wrong.
Theory: A lot of people are scared of baking because of poorly written recipes–especially poorly written recipes for bread.
I struggled a lot in some of my more advanced science classes in college, and I’ll always remember especially struggling when having to complete an experiment as part of the assignment in labs. The directions were almost never very detailed–at least, not detailed enough for me to understand them.
Baking is, essentially, a science experiment. A poorly written science experiment is most likely going to go poorly, especially when the person reading the directions is not familiar with the material. The order in which ingredients are added in a science experiment matters–the same is true with baking just about anything.
Adding the flour into a cake batter before the butter and sugar is creamed will result in a cake that has the texture of a rubber tire. Mixing an egg directly into hot milk (rather than tempering them first) will result in scrambled eggs instead of custard. Room temperature, unchilled chocolate chip cookie dough will result in cookies flat as pancakes, every time.

Baking directions need to be clear and concise, leaving very little room for interpretation because more often than not, there isn’t much room for it. I can’t tell you how many times I’ve read bread recipes (in cookbooks authored by very famous bakers, or on very popular websites, by the way) and seen them read something like this:
“Combine all ingredients together to make a smooth bread dough, and allow to rise.”
Like…what?
How is someone (who is not a baker) supposed to follow that?

Using yeast used to make me nervous too. In the beginning when I was first starting out learning how to bake, I too avoided bread recipes because when I read through a lot of the recipes, they just weren’t clear enough to where I felt comfortable enough to try. I get it guys.
Whenever I post a bread recipe on this blog, I try to ensure that it’s written as clearly and concisely as I can make it. I know that I do make some things that seem ‘advanced’, but I still want them to be accessible for people who aren’t used to baking and may want to try it out.

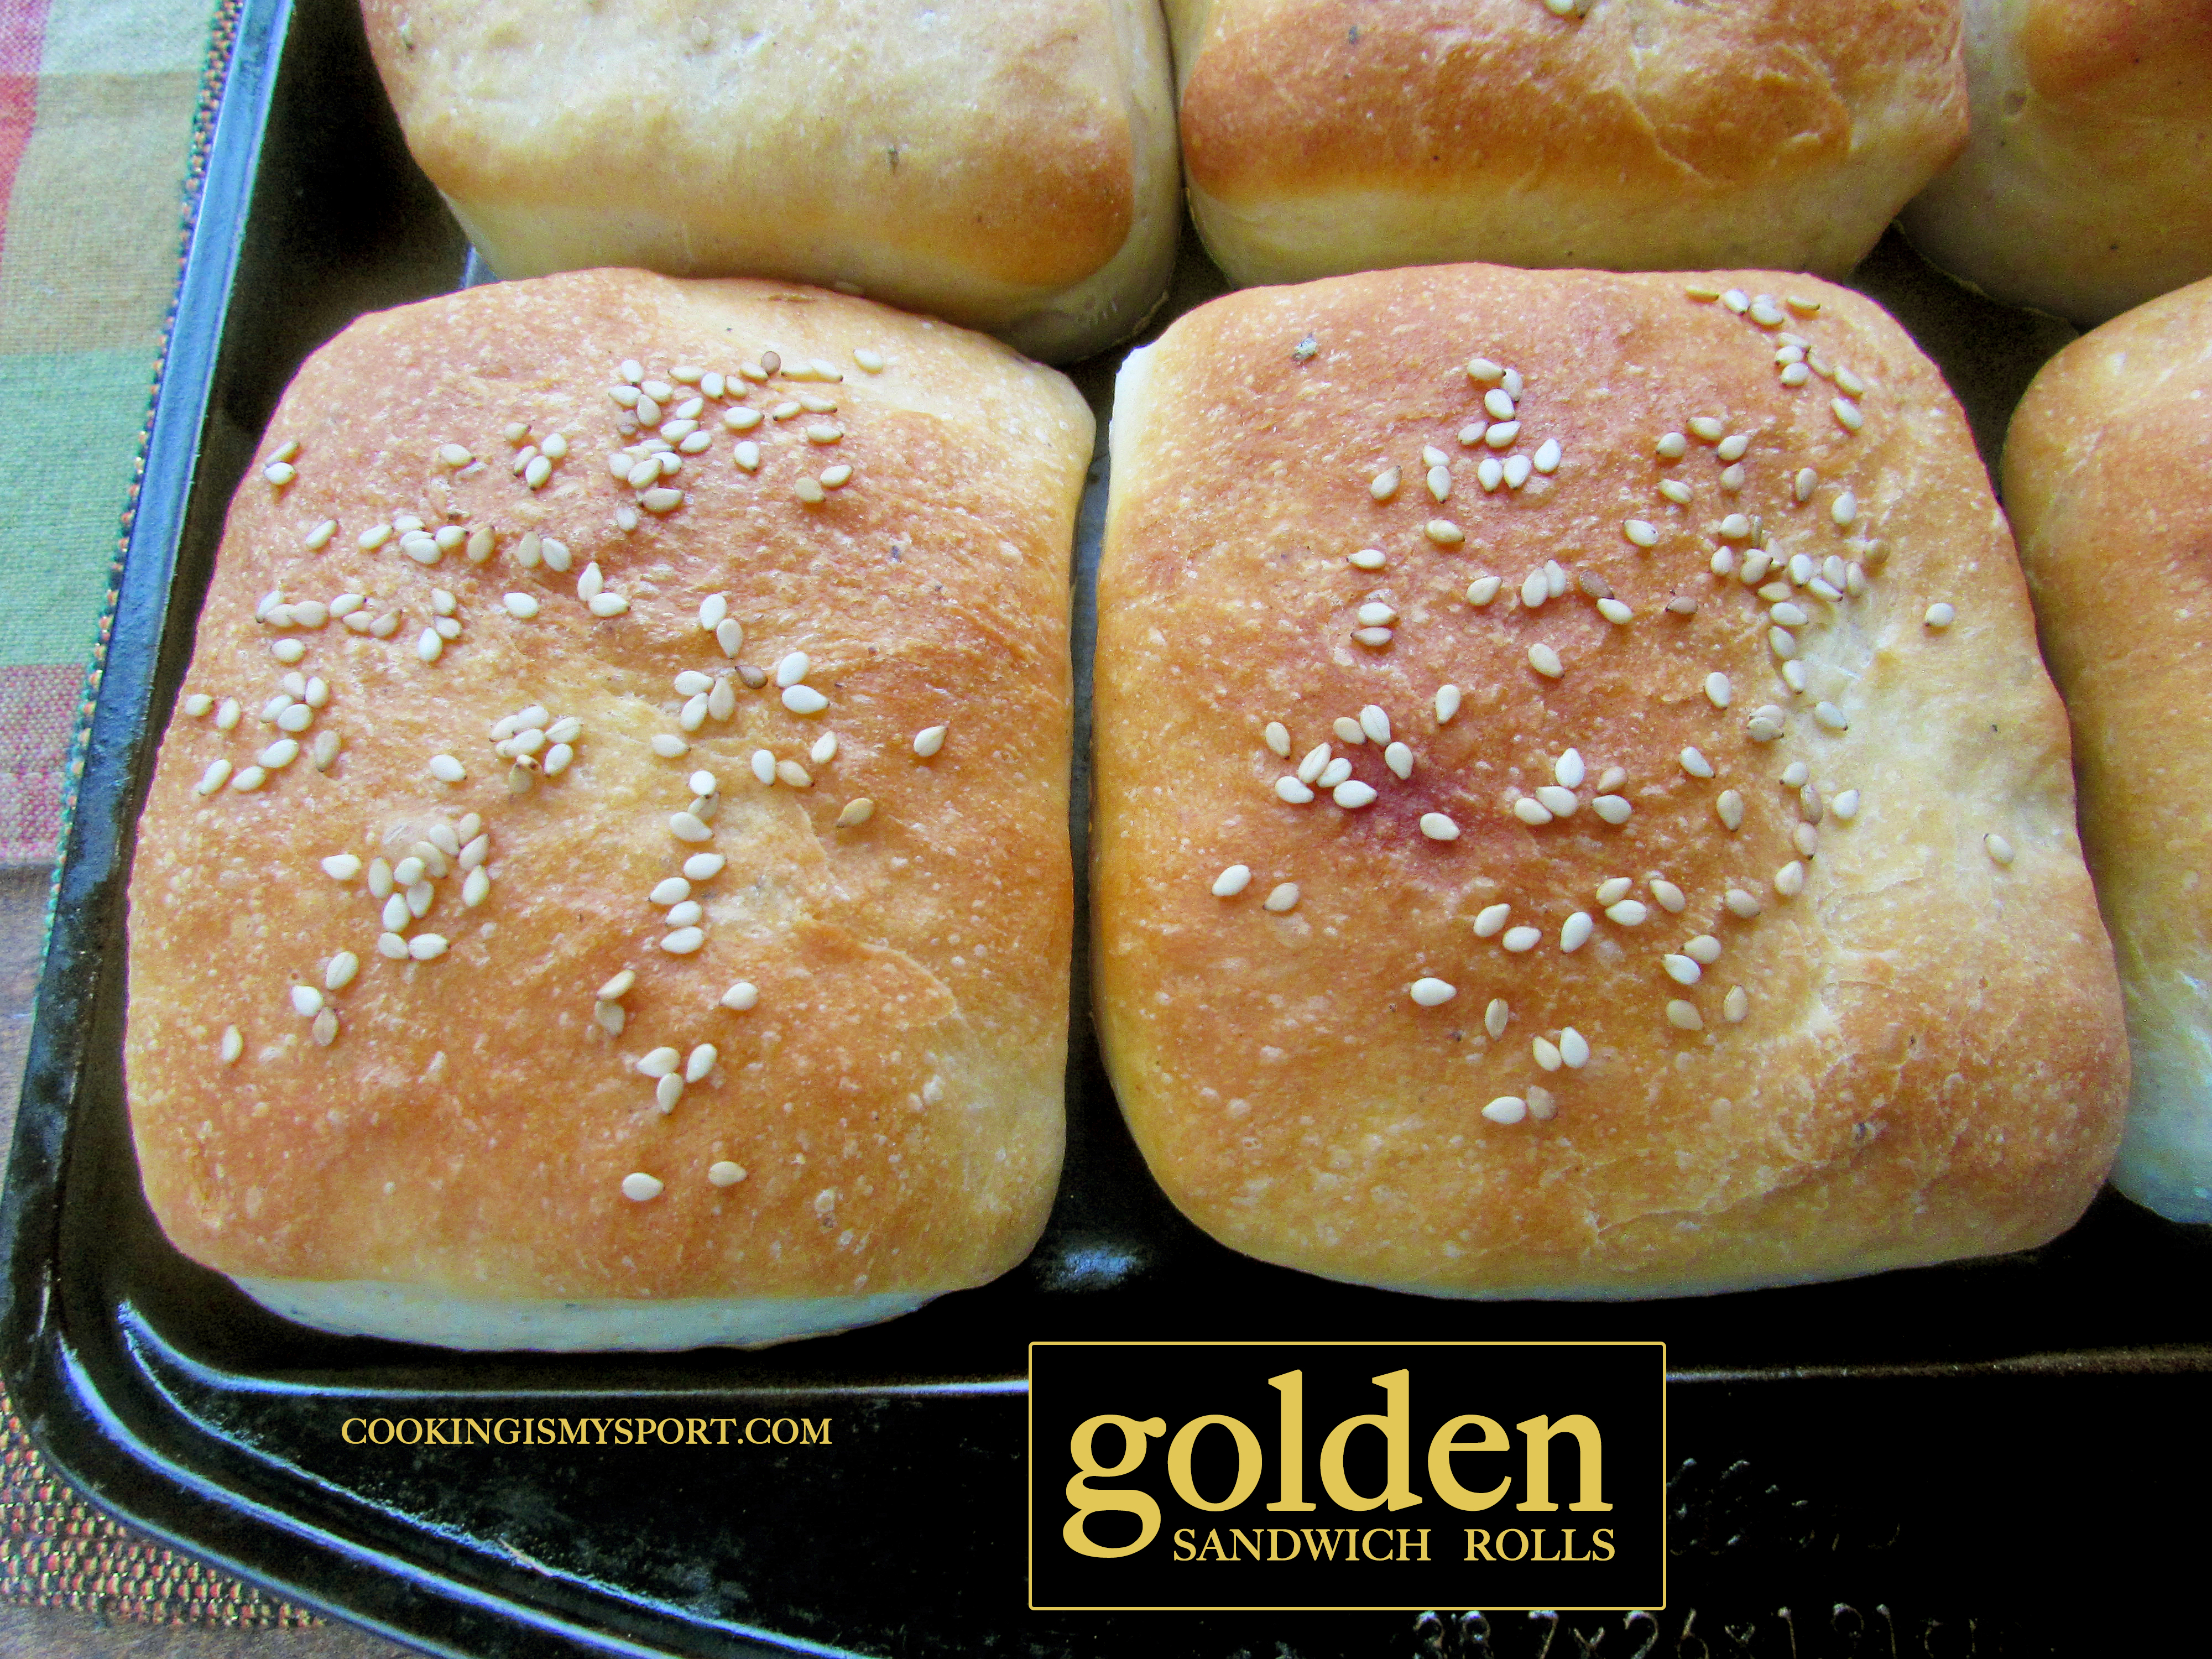
Today’s recipe is another where I tried to write it out to make baking with yeast incredibly easy. In fact, I’d go so far as to say, it’s nearly fail-proof. They’re a simple golden, rich sandwich roll that I think would be perfect for sliders, or breakfast sandwiches (which is how I’ve been enjoying them). Feel free to add fresh or dried herbs to give them added flavor. The crumb inside is soft and fluffy, yet also toasts very well. This is one experiment that I can guarantee won’t go wrong, and that you’ll be very happy that you tried it out.
Golden Sandwich Rolls
Recipe Adapted from Bernard Clayton’s New Complete Book of Breads
Ingredients
- 1 1/2 cups warm water
- 1/2 cup nonfat dry milk
- 2 tablespoons sugar, divided
- 2 teaspoons salt
- 1 teaspoon black pepper
- 1 tablespoon dried herbs of your choice
- 3 teaspoons of dry active yeast
- 2 tablespoons of softened butter
- 2 eggs, room temperature and beaten
- 5 1/2-6 cups of all purpose flour (you may not need it all depending on time of year and your location)
- sesame seeds, optional
Directions
Place the warm water in a small bowl. Sprinkle the yeast on top of the water. Sprinkle one tablespoon of the sugar on top of the yeast. Allow it to sit for ten minutes, until proofed and frothy.
Pour the yeast-water mixture into the bowl of a standing mixer. Add the dry milk, remaining tablespoon of sugar, salt, pepper, dried herbs and beaten eggs. Use the paddle attachment to mix the ingredients until combined. Switch to the dough hook attachment and add the softened butter, mixing just until butter is absorbed (it’s okay if it looks a little curdled).
Add the flour in one cup increments, just until the dough begins to come together around the hook. Once it has, turn off the mixer and scrape the dough out onto a clean work surface that you’ve sprinkled with flour (like a pastry mat or a smooth countertop). Use your hands to firmly knead the dough until it is smooth and elastic, about 10-12 minutes. You can use additional flour (about 1/4 cup at a time) if it’s still too sticky; I also prefer to rub my hands with canola, olive or vegetable oil before kneading and that helps a lot without having to add more flour.
(The dough is ready when you can stretch one piece of it out very thin, and it’s translucent enough to see through.)
Grease the bottom and sides of the mixing bowl and place the dough inside. Cover with plastic wrap and a damp kitchen towel and allow it to rest until doubled in size, 1 1/2 hours.
Place two sheets of parchment paper onto two sheet pans. Turn dough out onto your clean work surface and punch down to deflate air bubbles. Divide it into 2 halves, keeping one half covered with plastic wrap while you work with the other.
Roll dough out into a rectangle that’s about 1/2 inch thick. Use a 2 1/2 inch cutter (square or circle, doesn’t matter) to cut out individual rolls. Place the rolls on the lined sheet pans. Repeat until you’ve used up all the dough. Cover both sheet pans of rolls with plastic wrap and damp kitchen towels. Allow to rest and rise until puffy and grown (they may not be doubled in size, but they should’ve grown at least a little) about 50-60 minutes.
Preheat the oven to 400 degrees Fahrenheit. Lightly spray the tops of the rolls with cooking spray and sprinkle the tops with sesame seeds. Bake on the middle rack of the oven for about 15-20 minutes (check them early, mine baked quickly).
Remove to a wire rack to let cool completely.
*Thump the bottoms of the rolls with your thumb and forefinger; a hollow sound means they’re done. Bread in general is finished at an inner temp of 195-200 degrees Fahrenheit.*

Sharing this post at Fiesta Friday #260, co-hosted this week by Mollie @ Frugal Hausfrau and Diann @ Of Goats and Greens.


I have read this recipe several times, I must be blind, but I cannot see where the 1/2 cup nonfat dry milk is used. Help please.
You’re right! My mistake. I’ve fixed the error in the recipe– Thank you for pointing it out 🙂
Looks yummy! I swear I can smell freshly baked bread in the house. 💕💕💕
Thank you Bernice 🙂
Jess I absolutely agree! I try to write recipes like I am cooking with my daughter when she was 15 – so I’m not always as concise as I should be but if you don’t know how to bake or cook, what are you going to do with a recipe!? I do think most recipes assume that you already know how to cook. And even I’m not always explanatory enough. I directed to make a slurry using cornstarch and water and someone said they didn’t see slurry on the ingredient list and instructed on one recipe to remove a roast and then thicken the juices and they were concerned that I had no juice in the ingredients – I should have said the juices left behind from cooking… I think the better we get at cooking/baking the harder it can be to see from a beginner’s eyes! And the rolls look lovely! Wish I had one right now!
Thanks for sharing with us at Fiesta Friday!
Mollie
Thanks Mollie, I think that all you said is very true, and I’m guilty of it myself at times too. I really do have to stop and remember the way I used to think about cooking before I grew to love it and ask myself if I could follow the same recipe I’m posting now. (I was abysmal back then, so it’s a pretty good standard to hold myself to lol)
Jess
We all started at the same place, right!
You’re so right. I’ve had many baking disasters along the way because I didn’t know the baking ‘rules’. I use my blog to discuss the method but then am guilty as anyone of not putting enough instructions in my recipes. You’ve inspired me to make more effort when writing them up!
Awesome, thank you Ruby 🙂