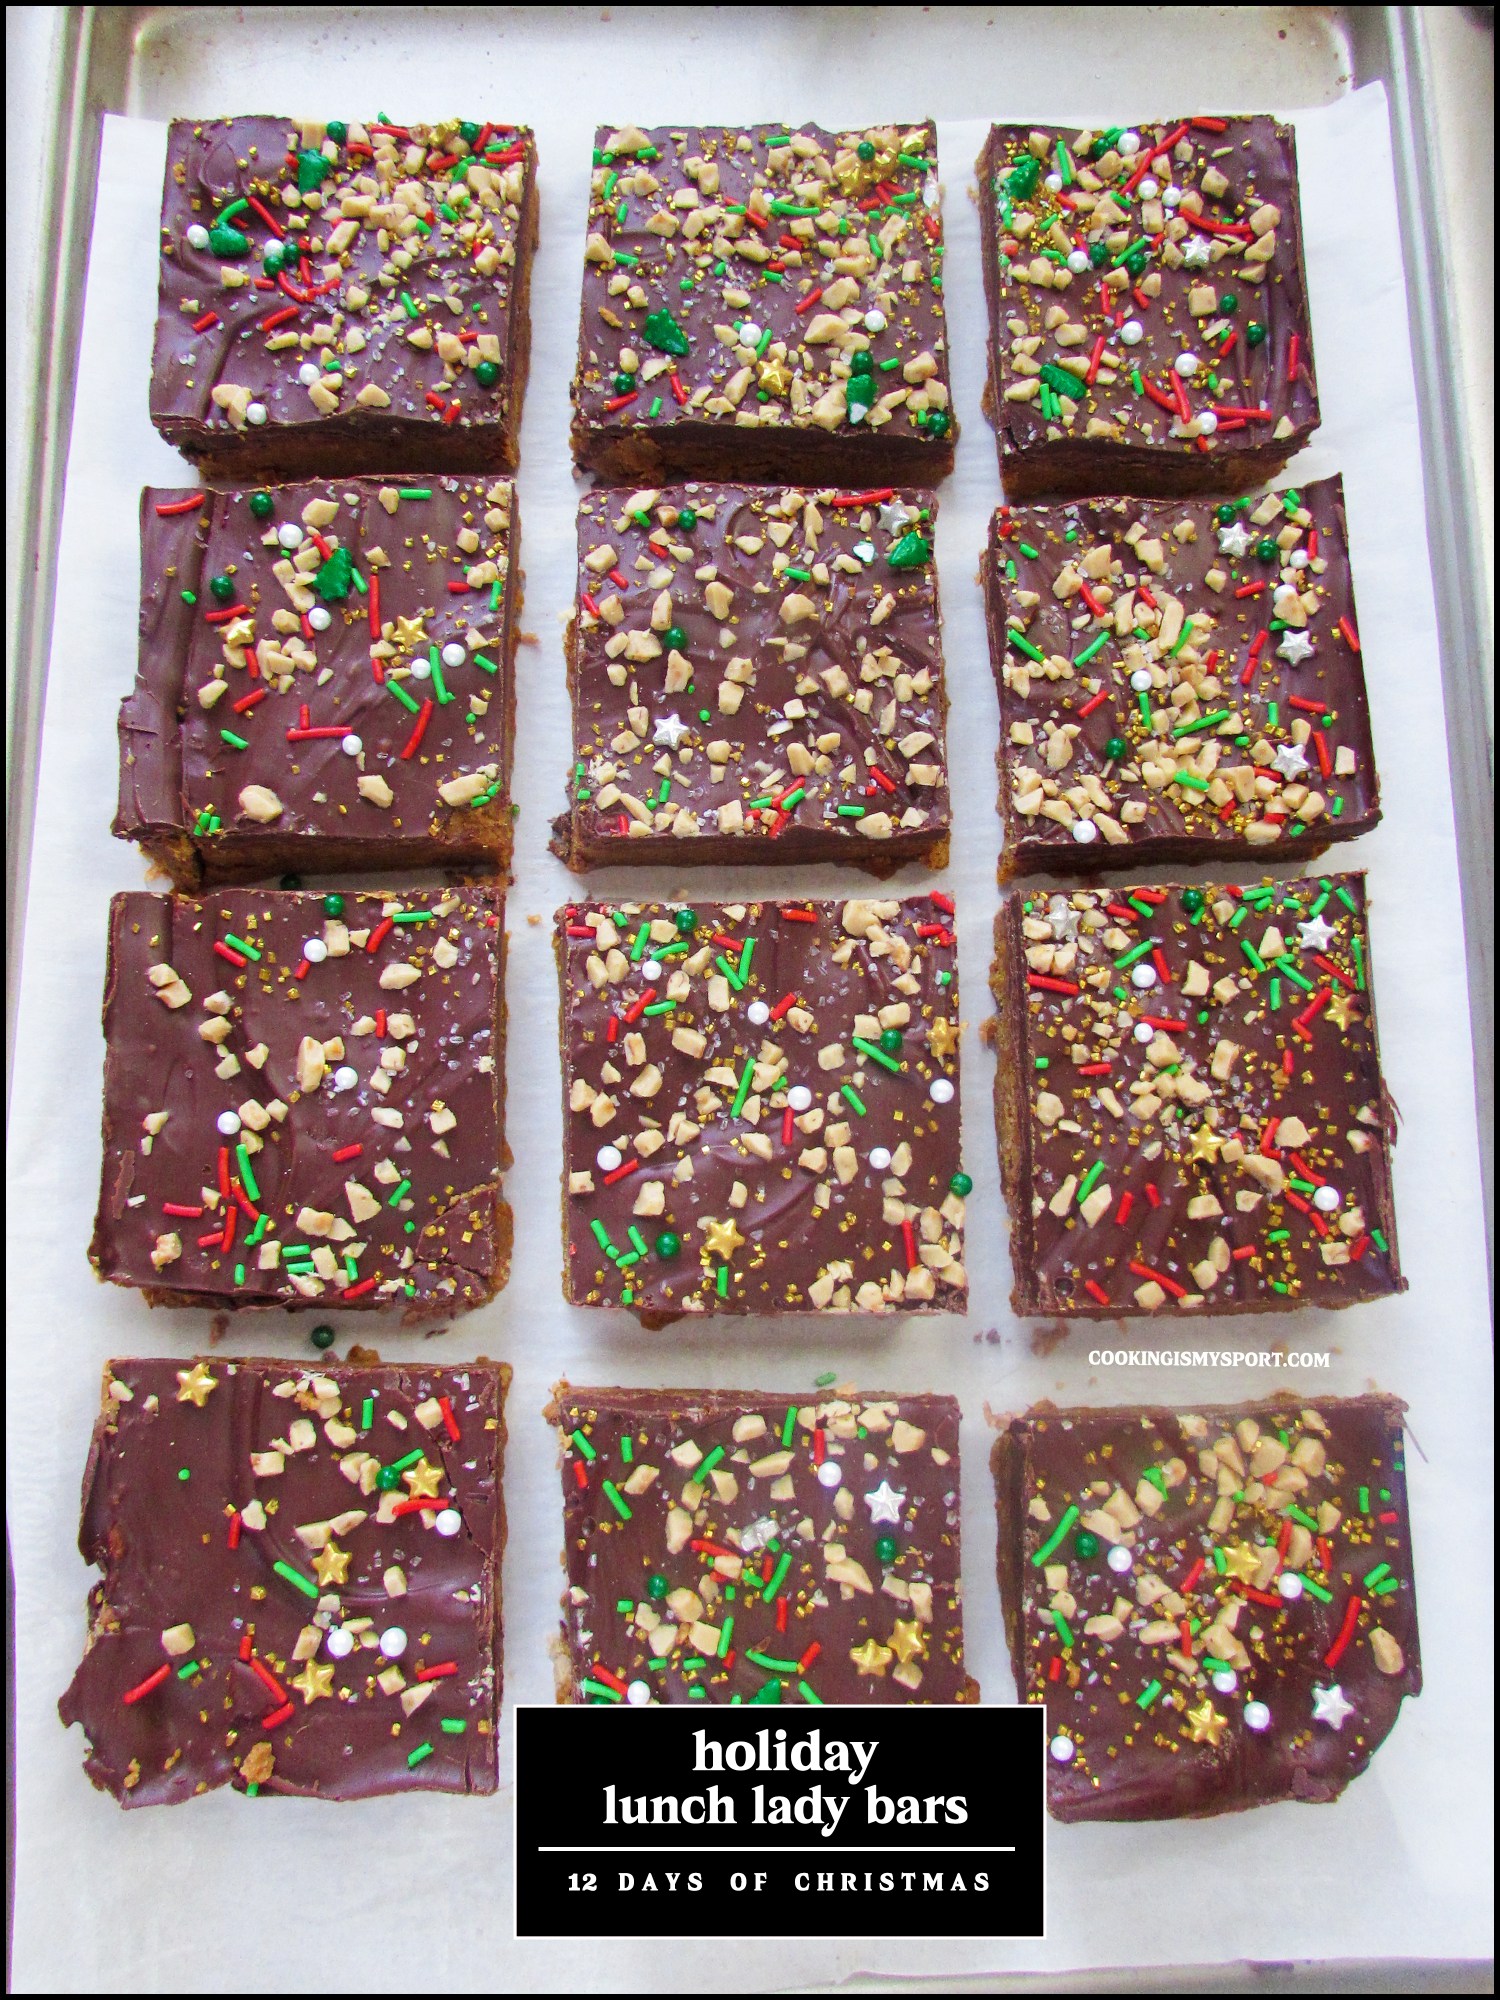
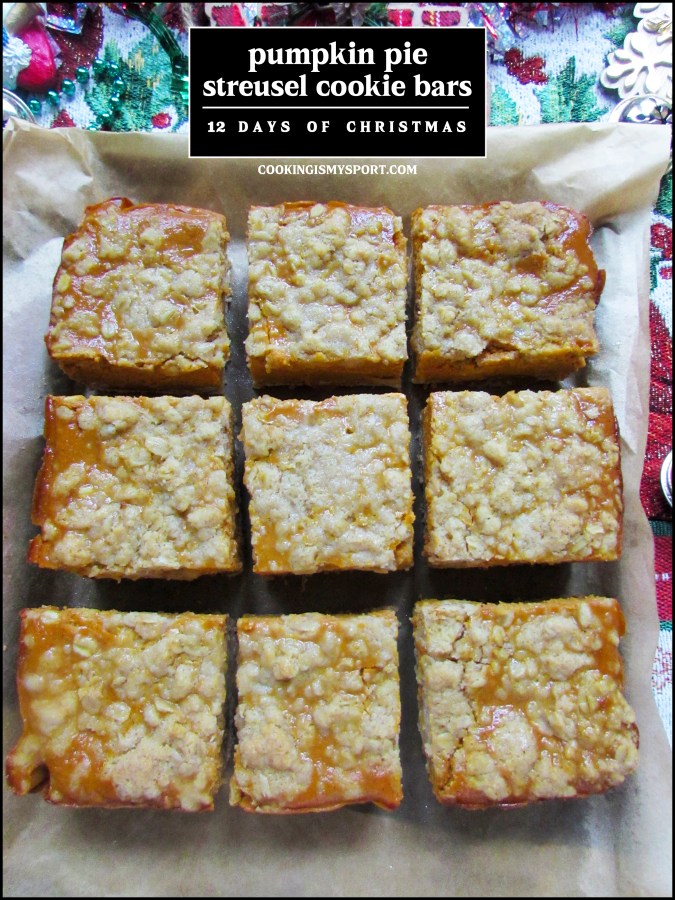
Holiday Lunch Lady Bars
Hi everyone–if you’re reading this from the States, then I hope you had a good holiday weekend.
For you and for everyone else living elsewhere reading this: we are officially 24 days away from Christmas—and if you’ve been following this blog for at least a year, then you know exactly what that means.
It’s time for the annual 12 Days of Christmas on Cooking is My Sport!
If you’re new here, the 12 Days of Christmas is an annual baking series that I’ve been doing for as long as I’ve been doing this blog (over a DECADE, if you can believe it). For twelve days between now and Christmas, I’ll be sharing twelve holiday-themed recipes that give me all of the sugar, spice, and everything nice feeling that I enjoy around the holiday season.
The 12 Days of Christmas series is mainly inspired by my nostalgic childhood memories, when my mother and my grandmother would do a lot–like a LOT-of baking during the holiday season. They both were great cooks/bakers and they put those skills to good use in making sure the house always smelled delicious and that there were always delicious treats in glass jars, under cloches, and in other easy to reach places for us to enjoy.

When I got older and decided to get into baking for myself, part of the reason/aim was so that I could repeat/continue that tradition of holiday baking that they initially started. My personal spin on that tradition gradually morphed into this: the 12 Days of Christmas.
Is baking twelve new recipes every year a lot of work?
You bet your you-know-what it is.
Is it worth it? Absolutely. I don’t know anyone who doesn’t like holiday baked goods/treats, and every year I always have a healthy portion of holiday cheer to spread around to my family and loved ones.
For today’s first recipe, I thougt I’d begin with something that deals a dose of nostalgia AND a ‘Can’t Mess This Up’ guarantee for those of you who may be reading this and are not overly fond of baking.
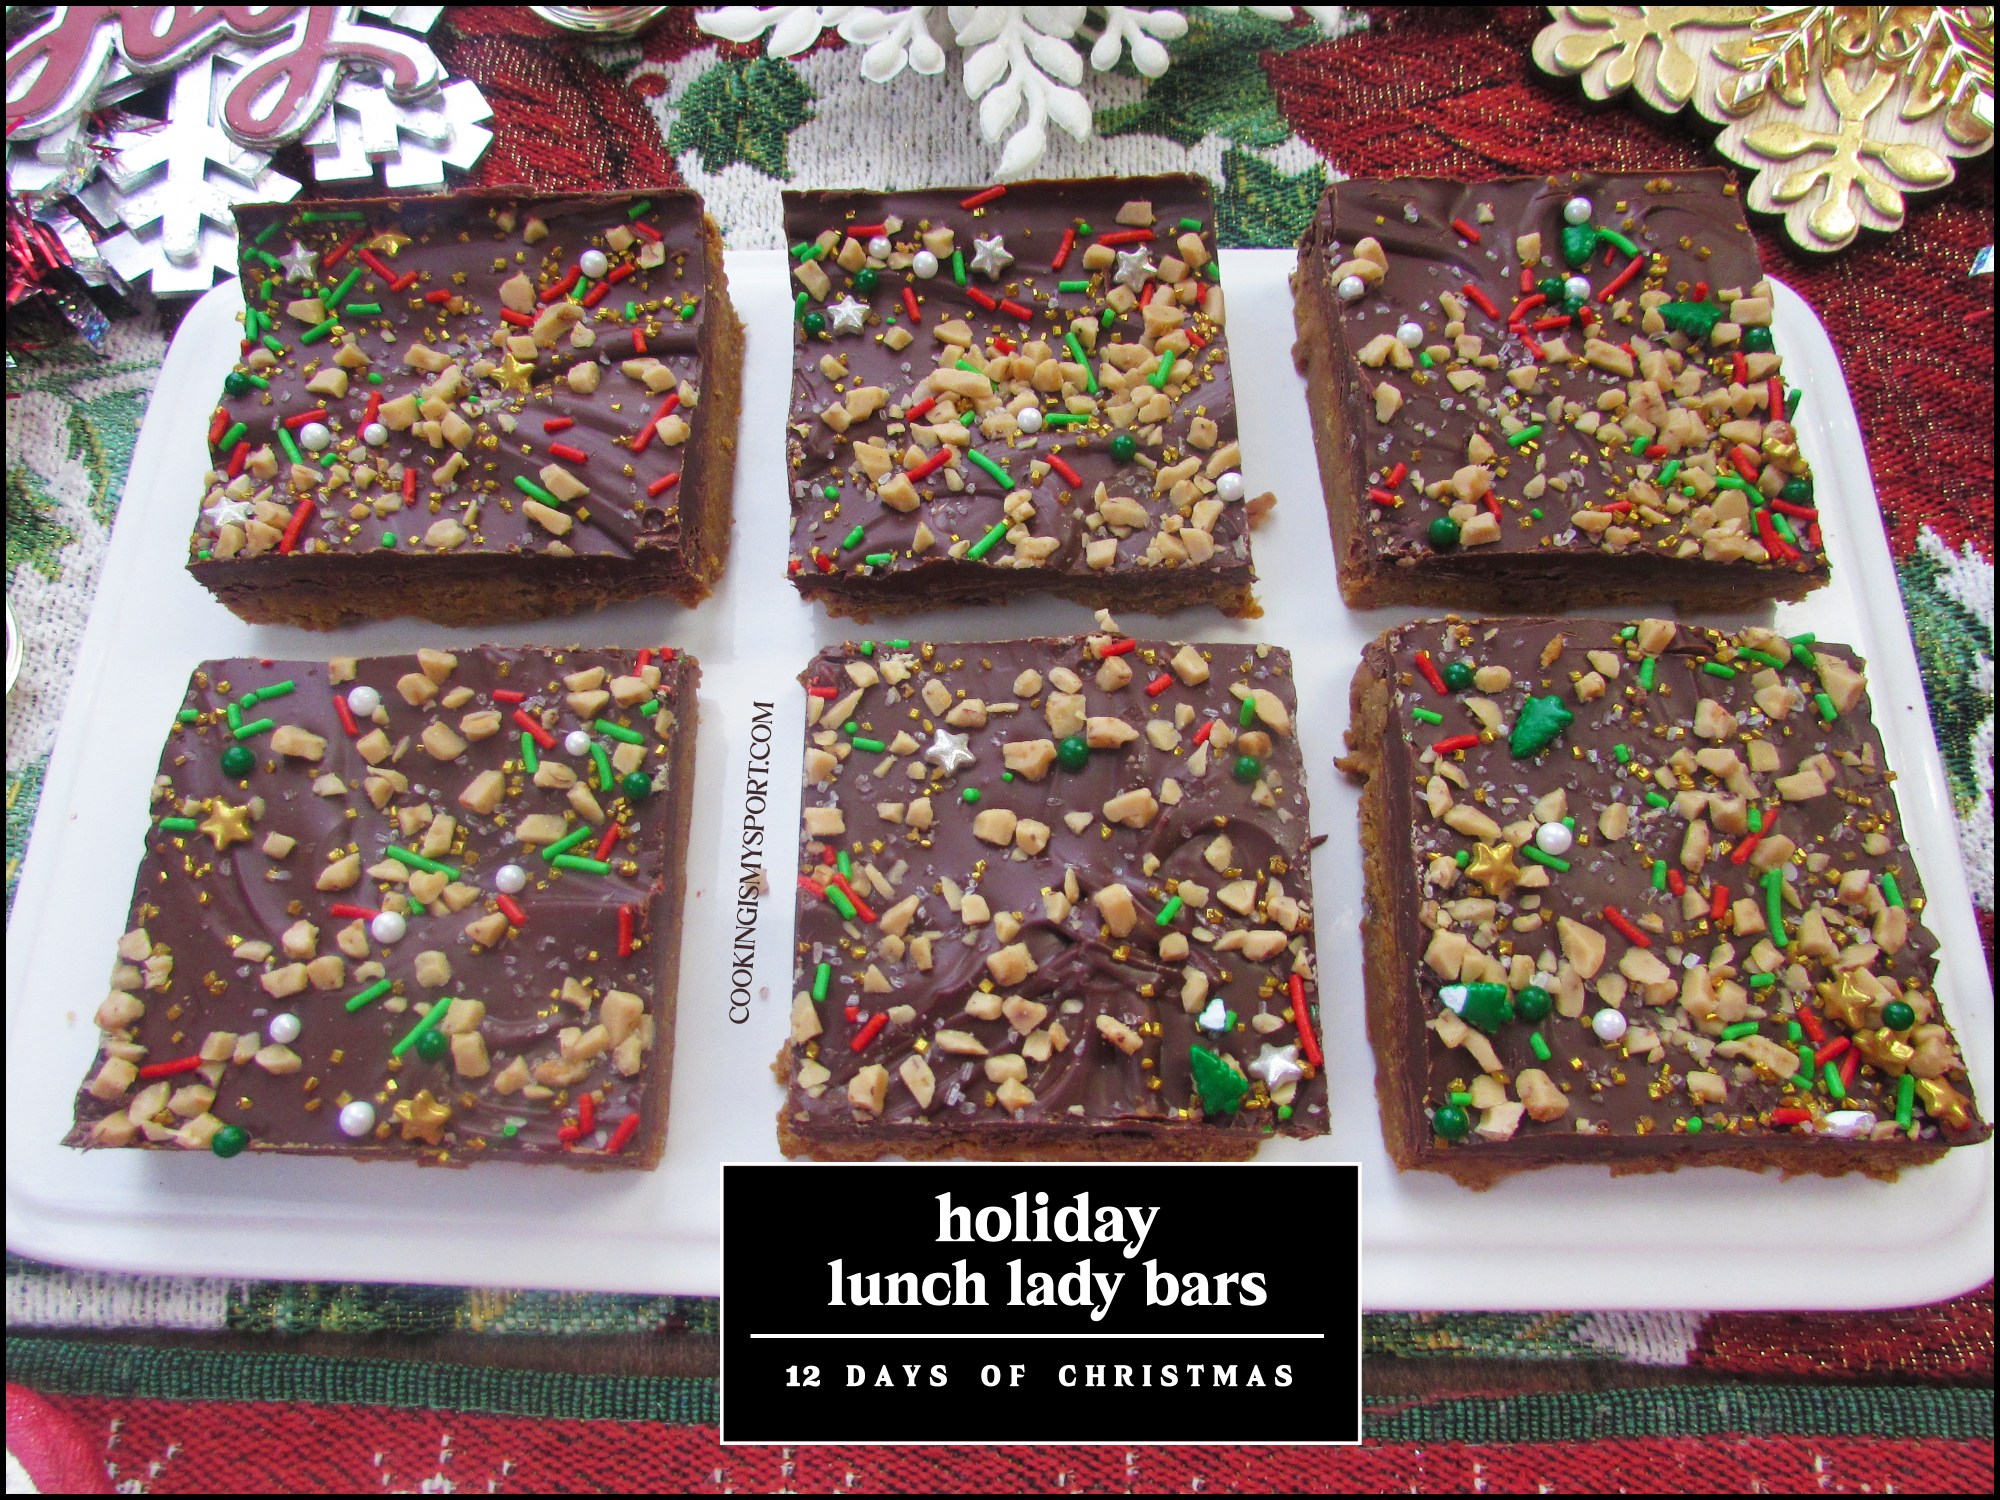
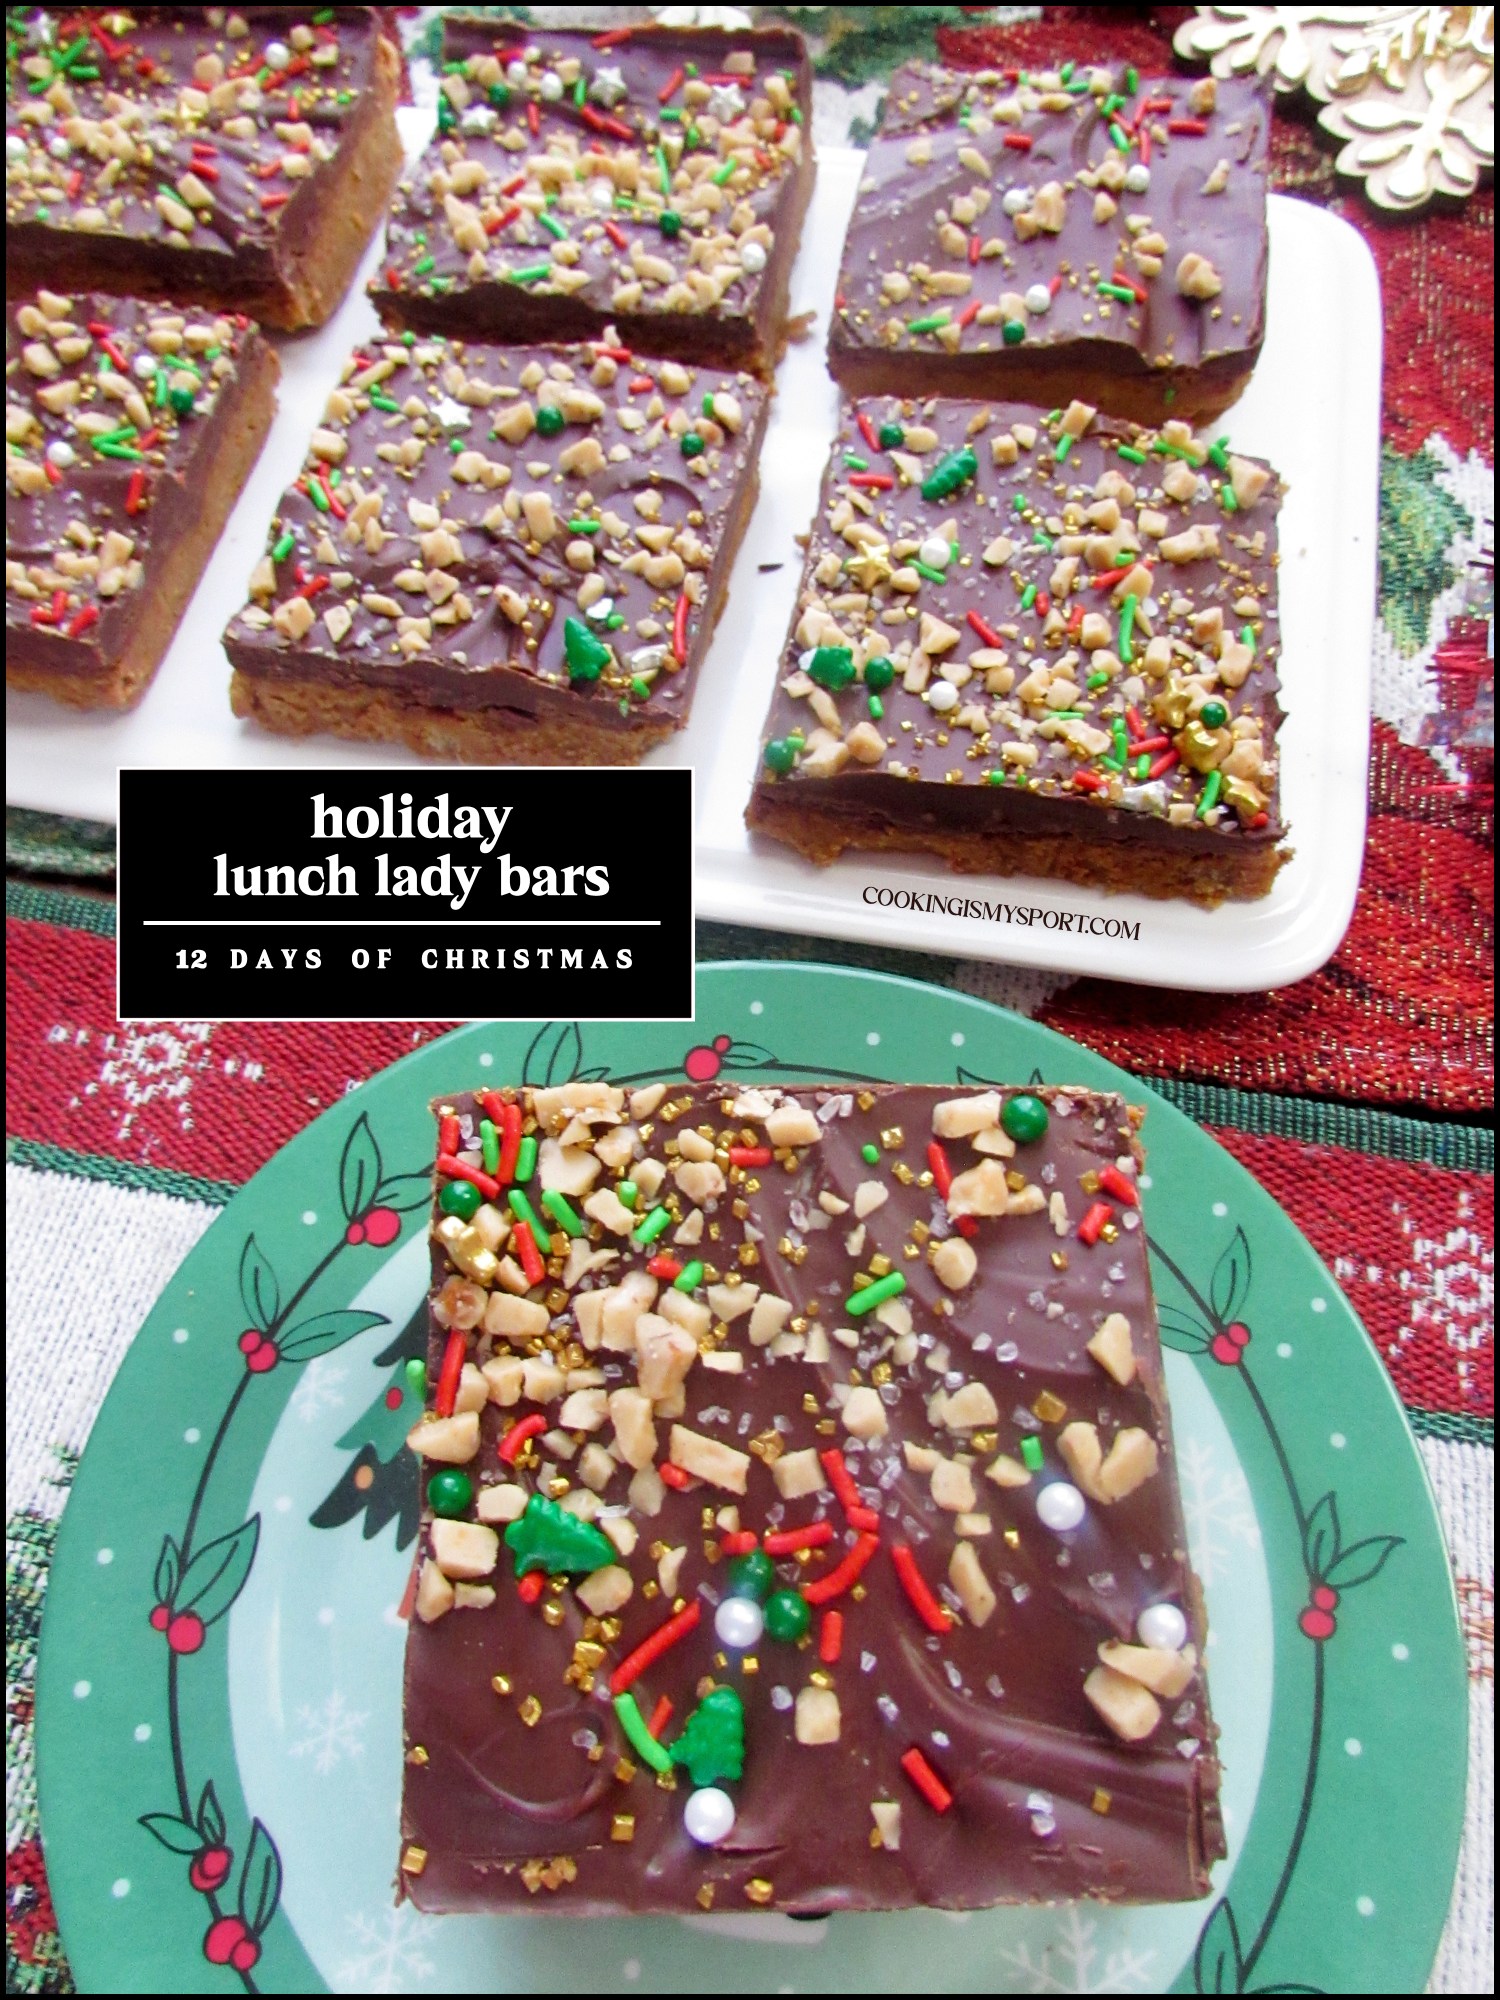
That’s okay. You can still participate and spread a little holiday cheer of your own. And as it turns out that holiday cheer has a name: Holiday Lunch Lady Bars.

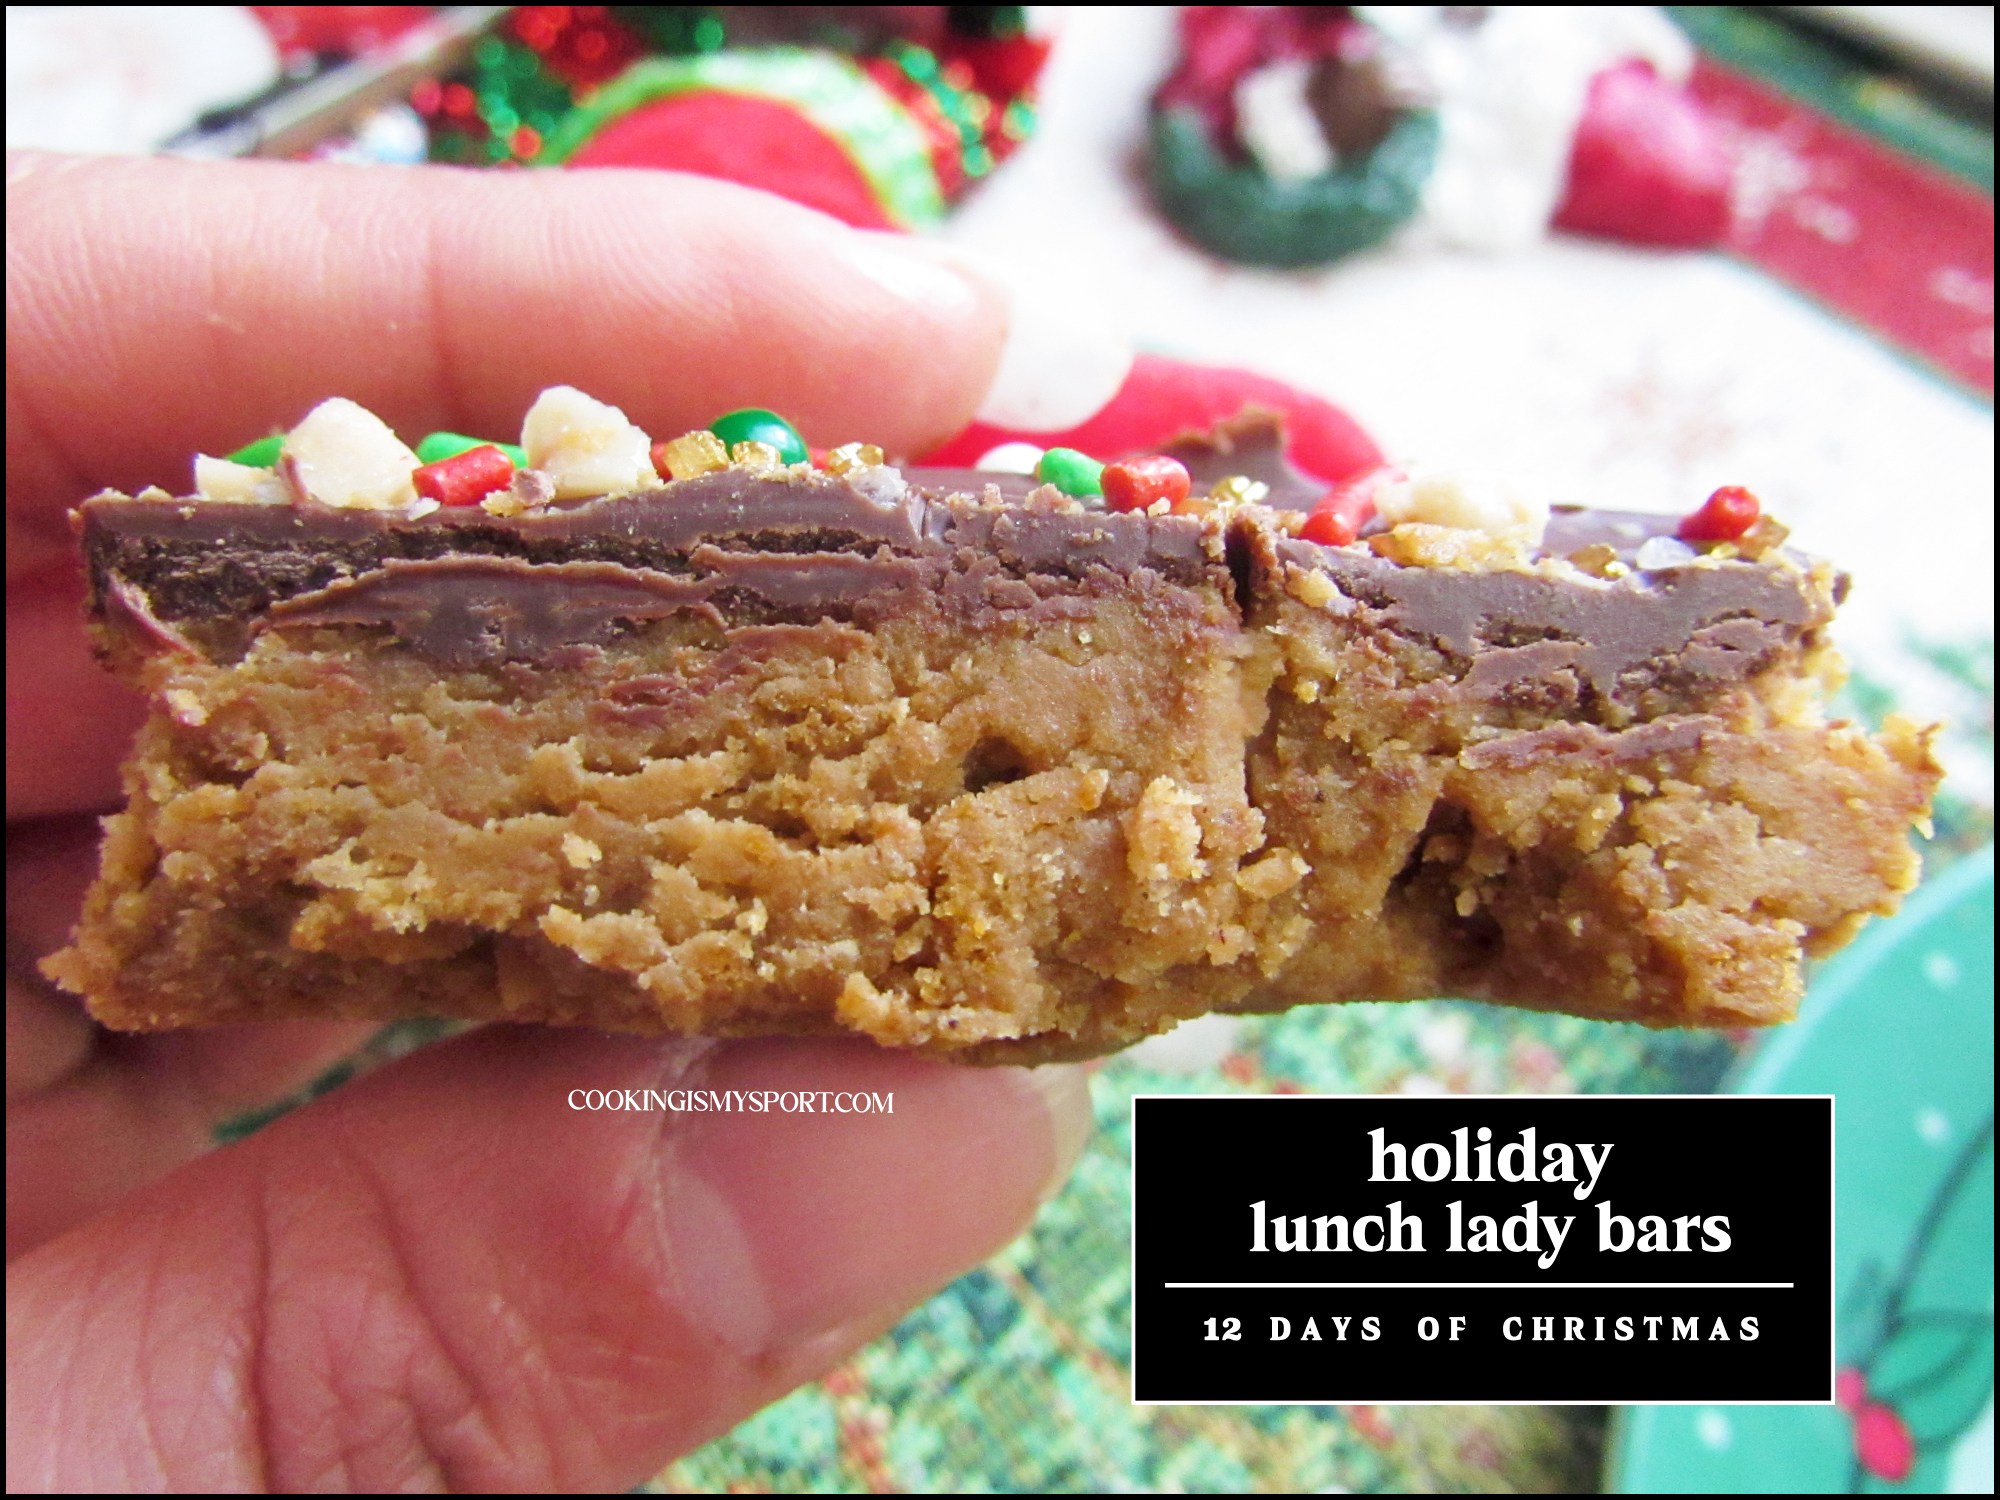
Lunch Lady Bars get their name from what many of us who grew up in the 80’s/90’s or maybe even earlier than that remember as a specific treat/dessert that we would see served in our school cafeterias. It was usually a no-bake dessert where peanut butter was melted and spread over a crumb cookie base then topped with chocolate, frosting, nuts, more cookie crumbs, etc.
It’s a bite of pure childhood nostalgia that I thought would be great to give a holiday twist to.
So, instead of peanut butter, we’re using cookie butter; a dessert spread that is very similar in texture to peanut butter, but is actually pulverized cookies crumbs that are blended with oil until smooth and spreadable. It’s heavenly stuff that has a lot of great uses in other baking recipes–and this recipe is proof of that.
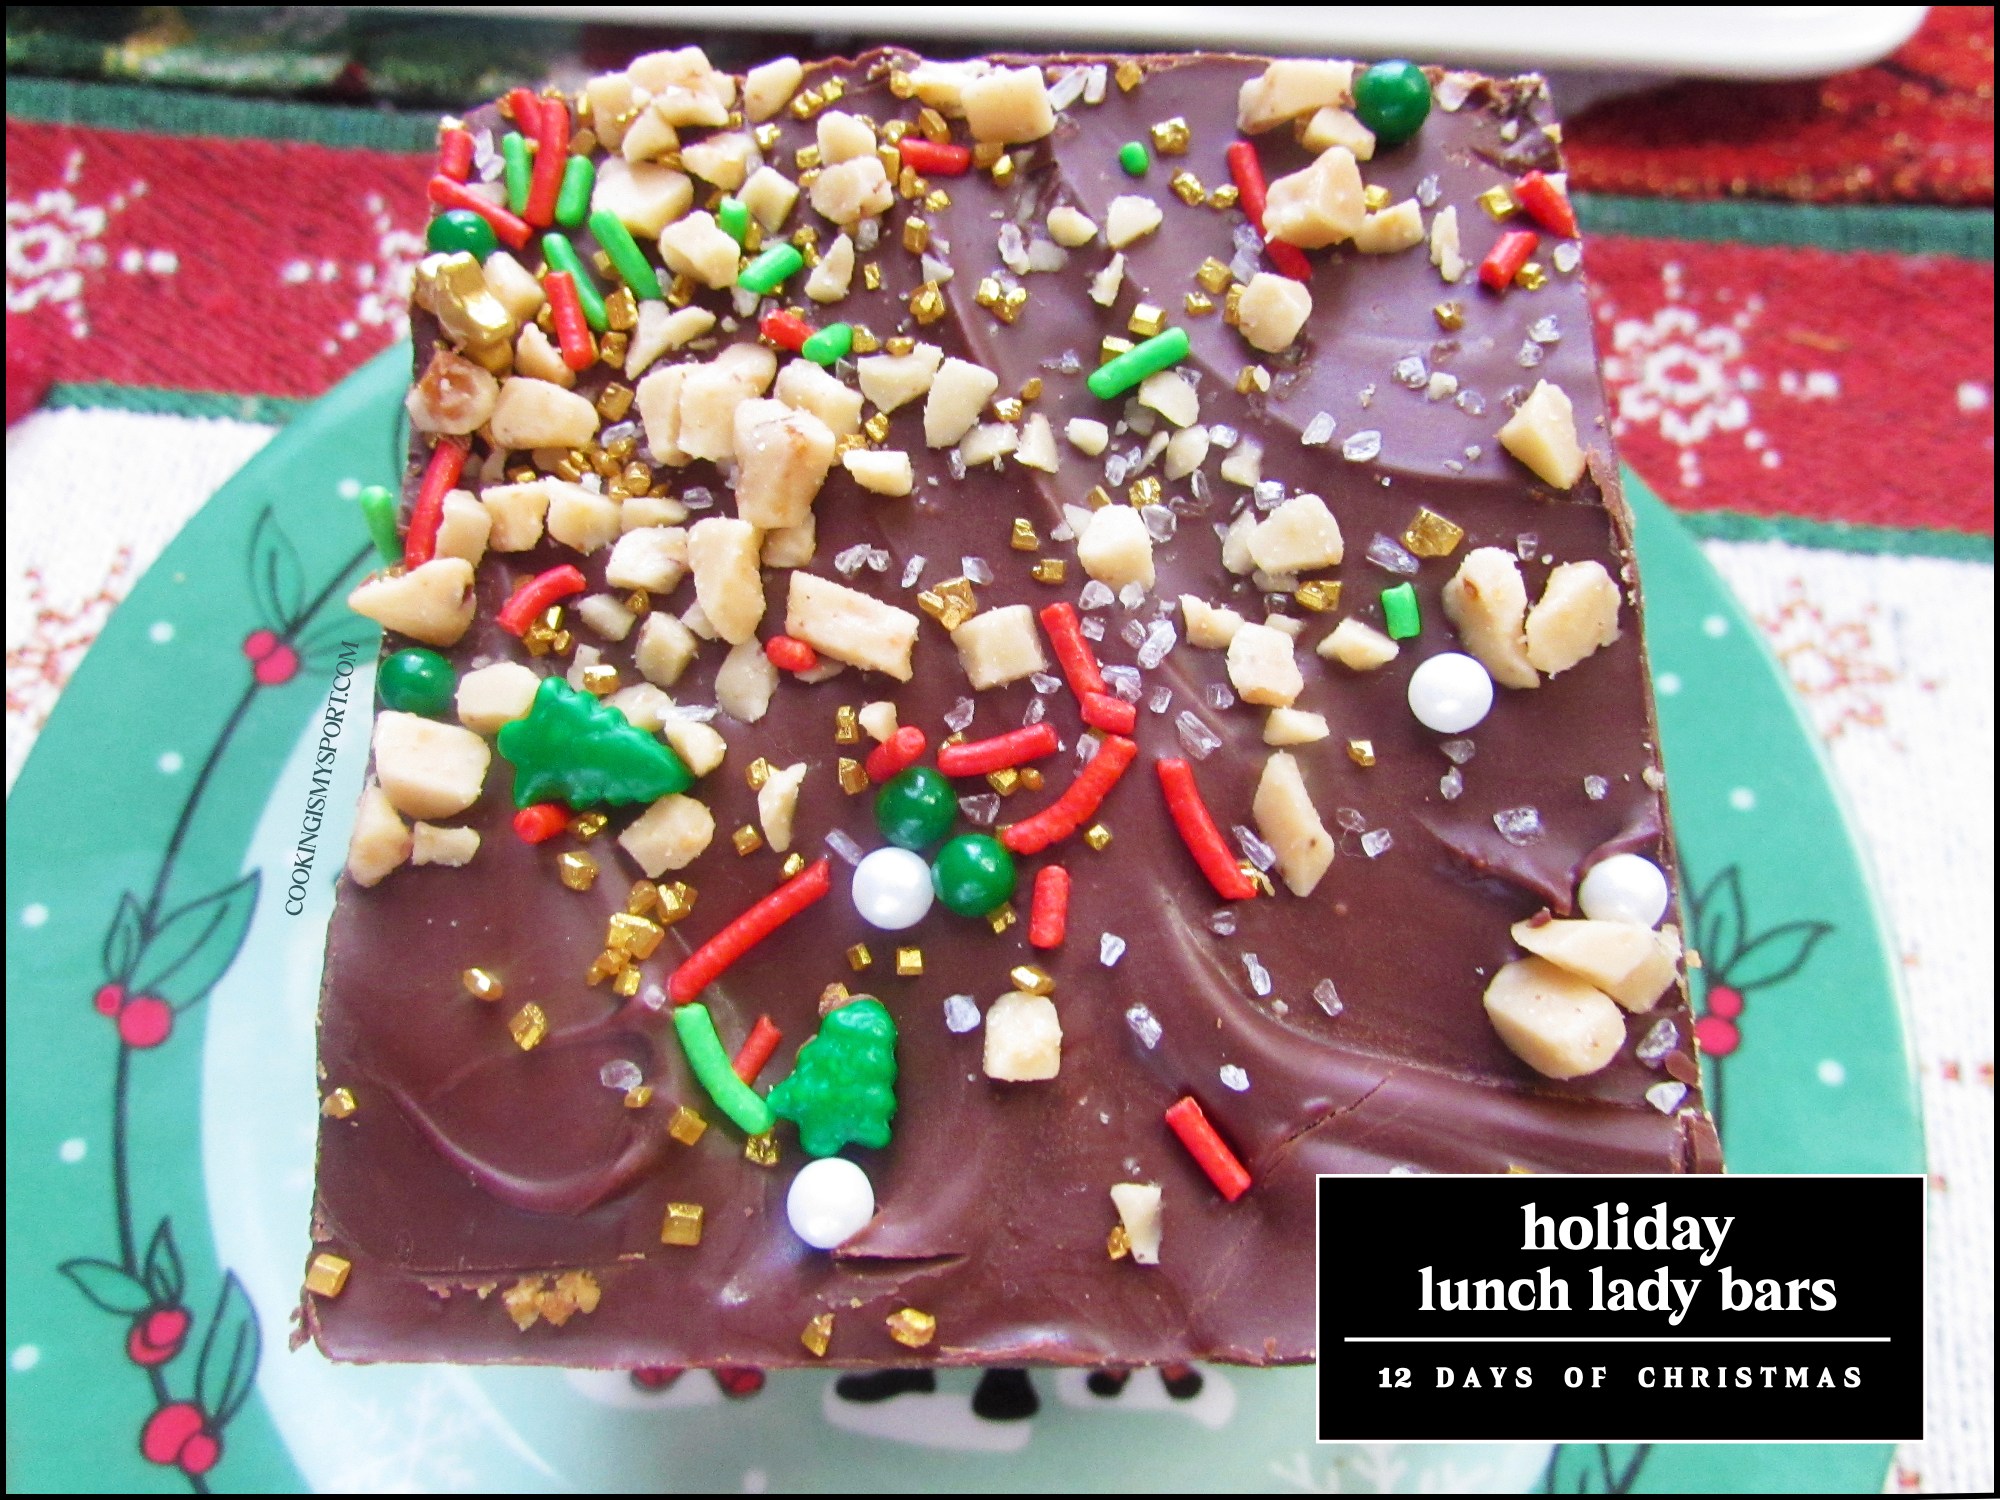
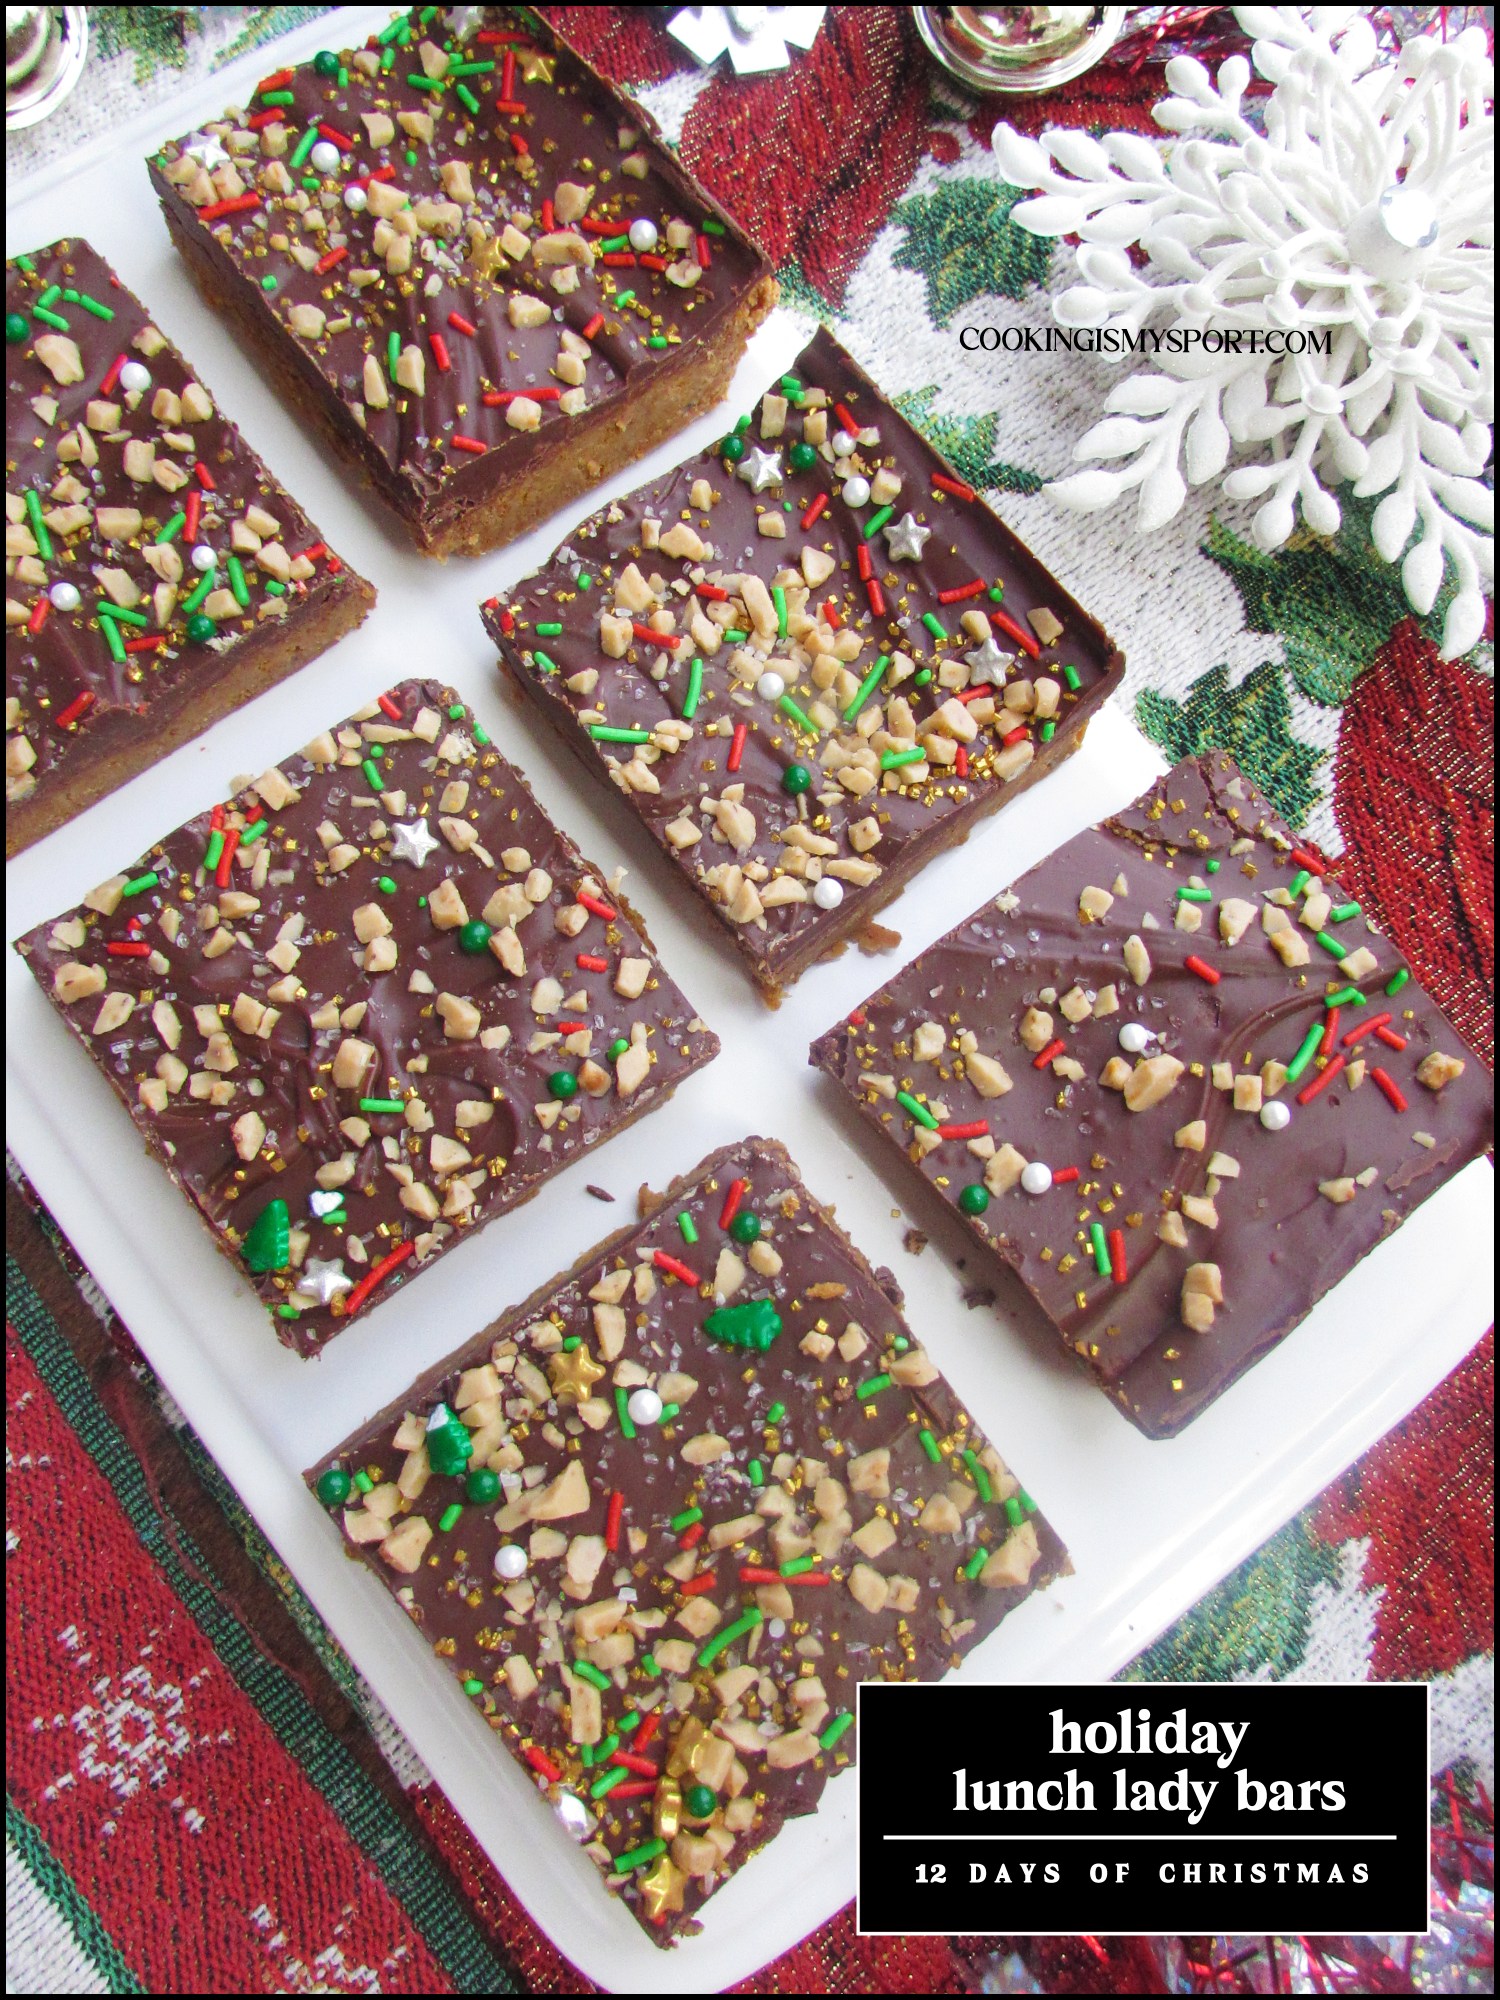
I added some winter-y spices to the cookie butter to give it a holiday flavor, then topped it all with semi-sweet chocolate, holiday sprinkles, AND flaked sea salt just to cut through all of that sweetness. Apart from being one of the easiest desserts I’ve ever made, they were every bit as delicious as they look festive.
If you’re in need of a quick and easy dessert for a holiday gathering, take it from me: you should make this one. Everyone in your house and a the gathering will be asking you for the recipe–which in the spirit and season of giving, you may-or may not–choose to share.
We have SO many great recipes/treats lined up for this year’s 12 Days of Christmas, so keep watching this space for more!
24 Days left until Christmas 😉

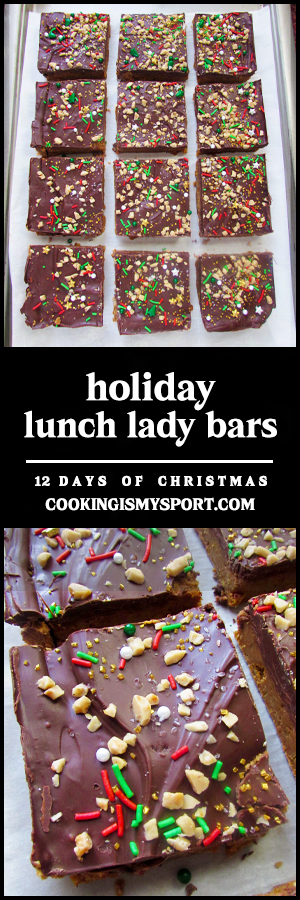
Day 1: Holiday Lunch Lady Bars
Holiday Lunch Lady Bars
Recipe Adapted from Insanely Good
Ingredients
- 3/4 cup (1 1/2 sticks) unsalted butter
- 2 cups crushed ginger snap cookies
- 1 cup powdered sugar
- 1 1/2 cups, plus 4 tablespoons cookie butter (creamy or chunky, doesn’t matter), divided
- 1 teaspoon ground ginger
- 1 teaspoon ground cinnamon
- 1/4 teaspoon ground nutmeg or mace
- 1/8 teaspoon ground allspice
- 2 cups semisweet chocolate chips
- 1/2 teaspoon sea salt, plus more for topping
- 1-2 tablespoons holiday sprinkles, for topping
Directions
Place the ginger snaps in a food processor and blend into a fine powder (you can also put them in a sealed gallon size Ziploc bag and beat them with a rolling pin or heavy can, jar of pickles or something like that)
In a microwave-safe bowl, melt the butter with 1 1/2 cups of cookie butter in 30 second intervals until smooth, stirring well between each spin.
When smooth, pour the butter mix into a large bowl, add the cookie crumbs, powdered sugar, spices, salt, and mix well. Add the spices and stir a few times until well combined.
Line a 9×13 inch pan with parchment paper. Pour the cracker mixture into the pan and spread evenly. Place in the refrigerator for 20 minutes. While the bottom layer chills, prepare the top layer.
In a microwave-safe bowl, combine the chocolate chips with 4 tablespoons of cookie butter. Microwave in 30 second intervals until smooth, stirring well between each spin
Spread the melted chocolate over the prepared crust. Sprinkle the holiday sprinkles and salt (if desired) on top.
Refrigerate for at least one hour before cutting into squares.


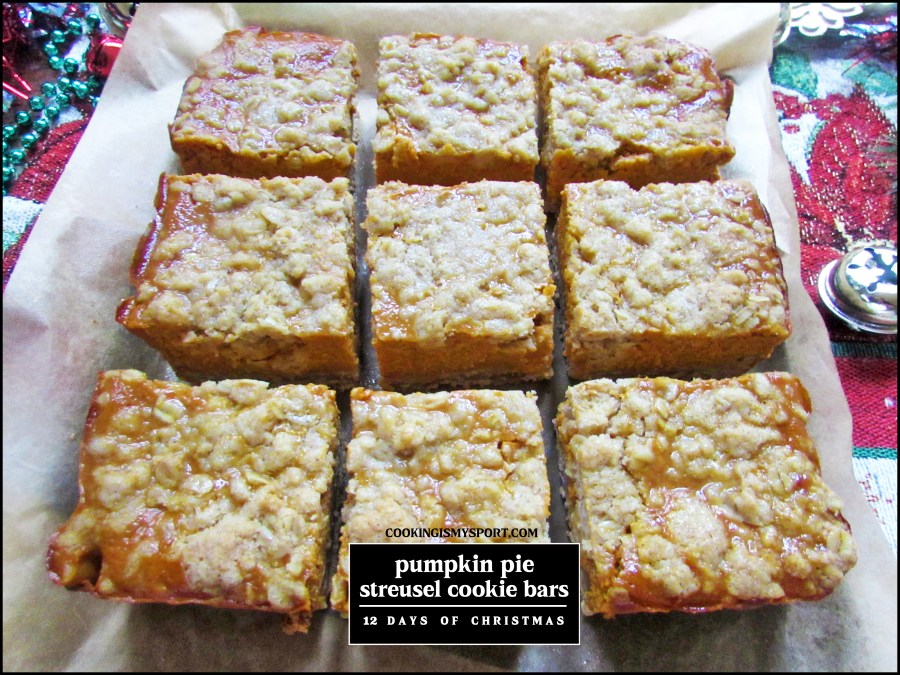

Oh so pretty!
Thank you!