Chicken Empanadas

Meatpies are one of my favorite foods. Back when my kitchen skills were as advanced as scrambling eggs or boiling pasta, I used to tell myself that if I ever learned how to cook one of the things I was going to learn and learn well, was how to make a meatpie.
While I still may have some more things to learn, I do think the practice I’ve had thus far has led me to understand what really makes a good meatpie. It depends on giving equal amounts attention and consideration of both the casing and the filling because a good filling encased in tough pastry is no bueno, and a good pastry with bland filling is also not so great.

My strategy for avoiding bland meatpie filling is to as Chopped judge Marc Murphy says “season with authority.” I’ve tried to inject flavor at just about every step of the cooking of this empanada filling. And then after it’s finished, I allow it to rest in the fridge just to give the spices the time to really set in so that they come through after the empanadas are finished baking.

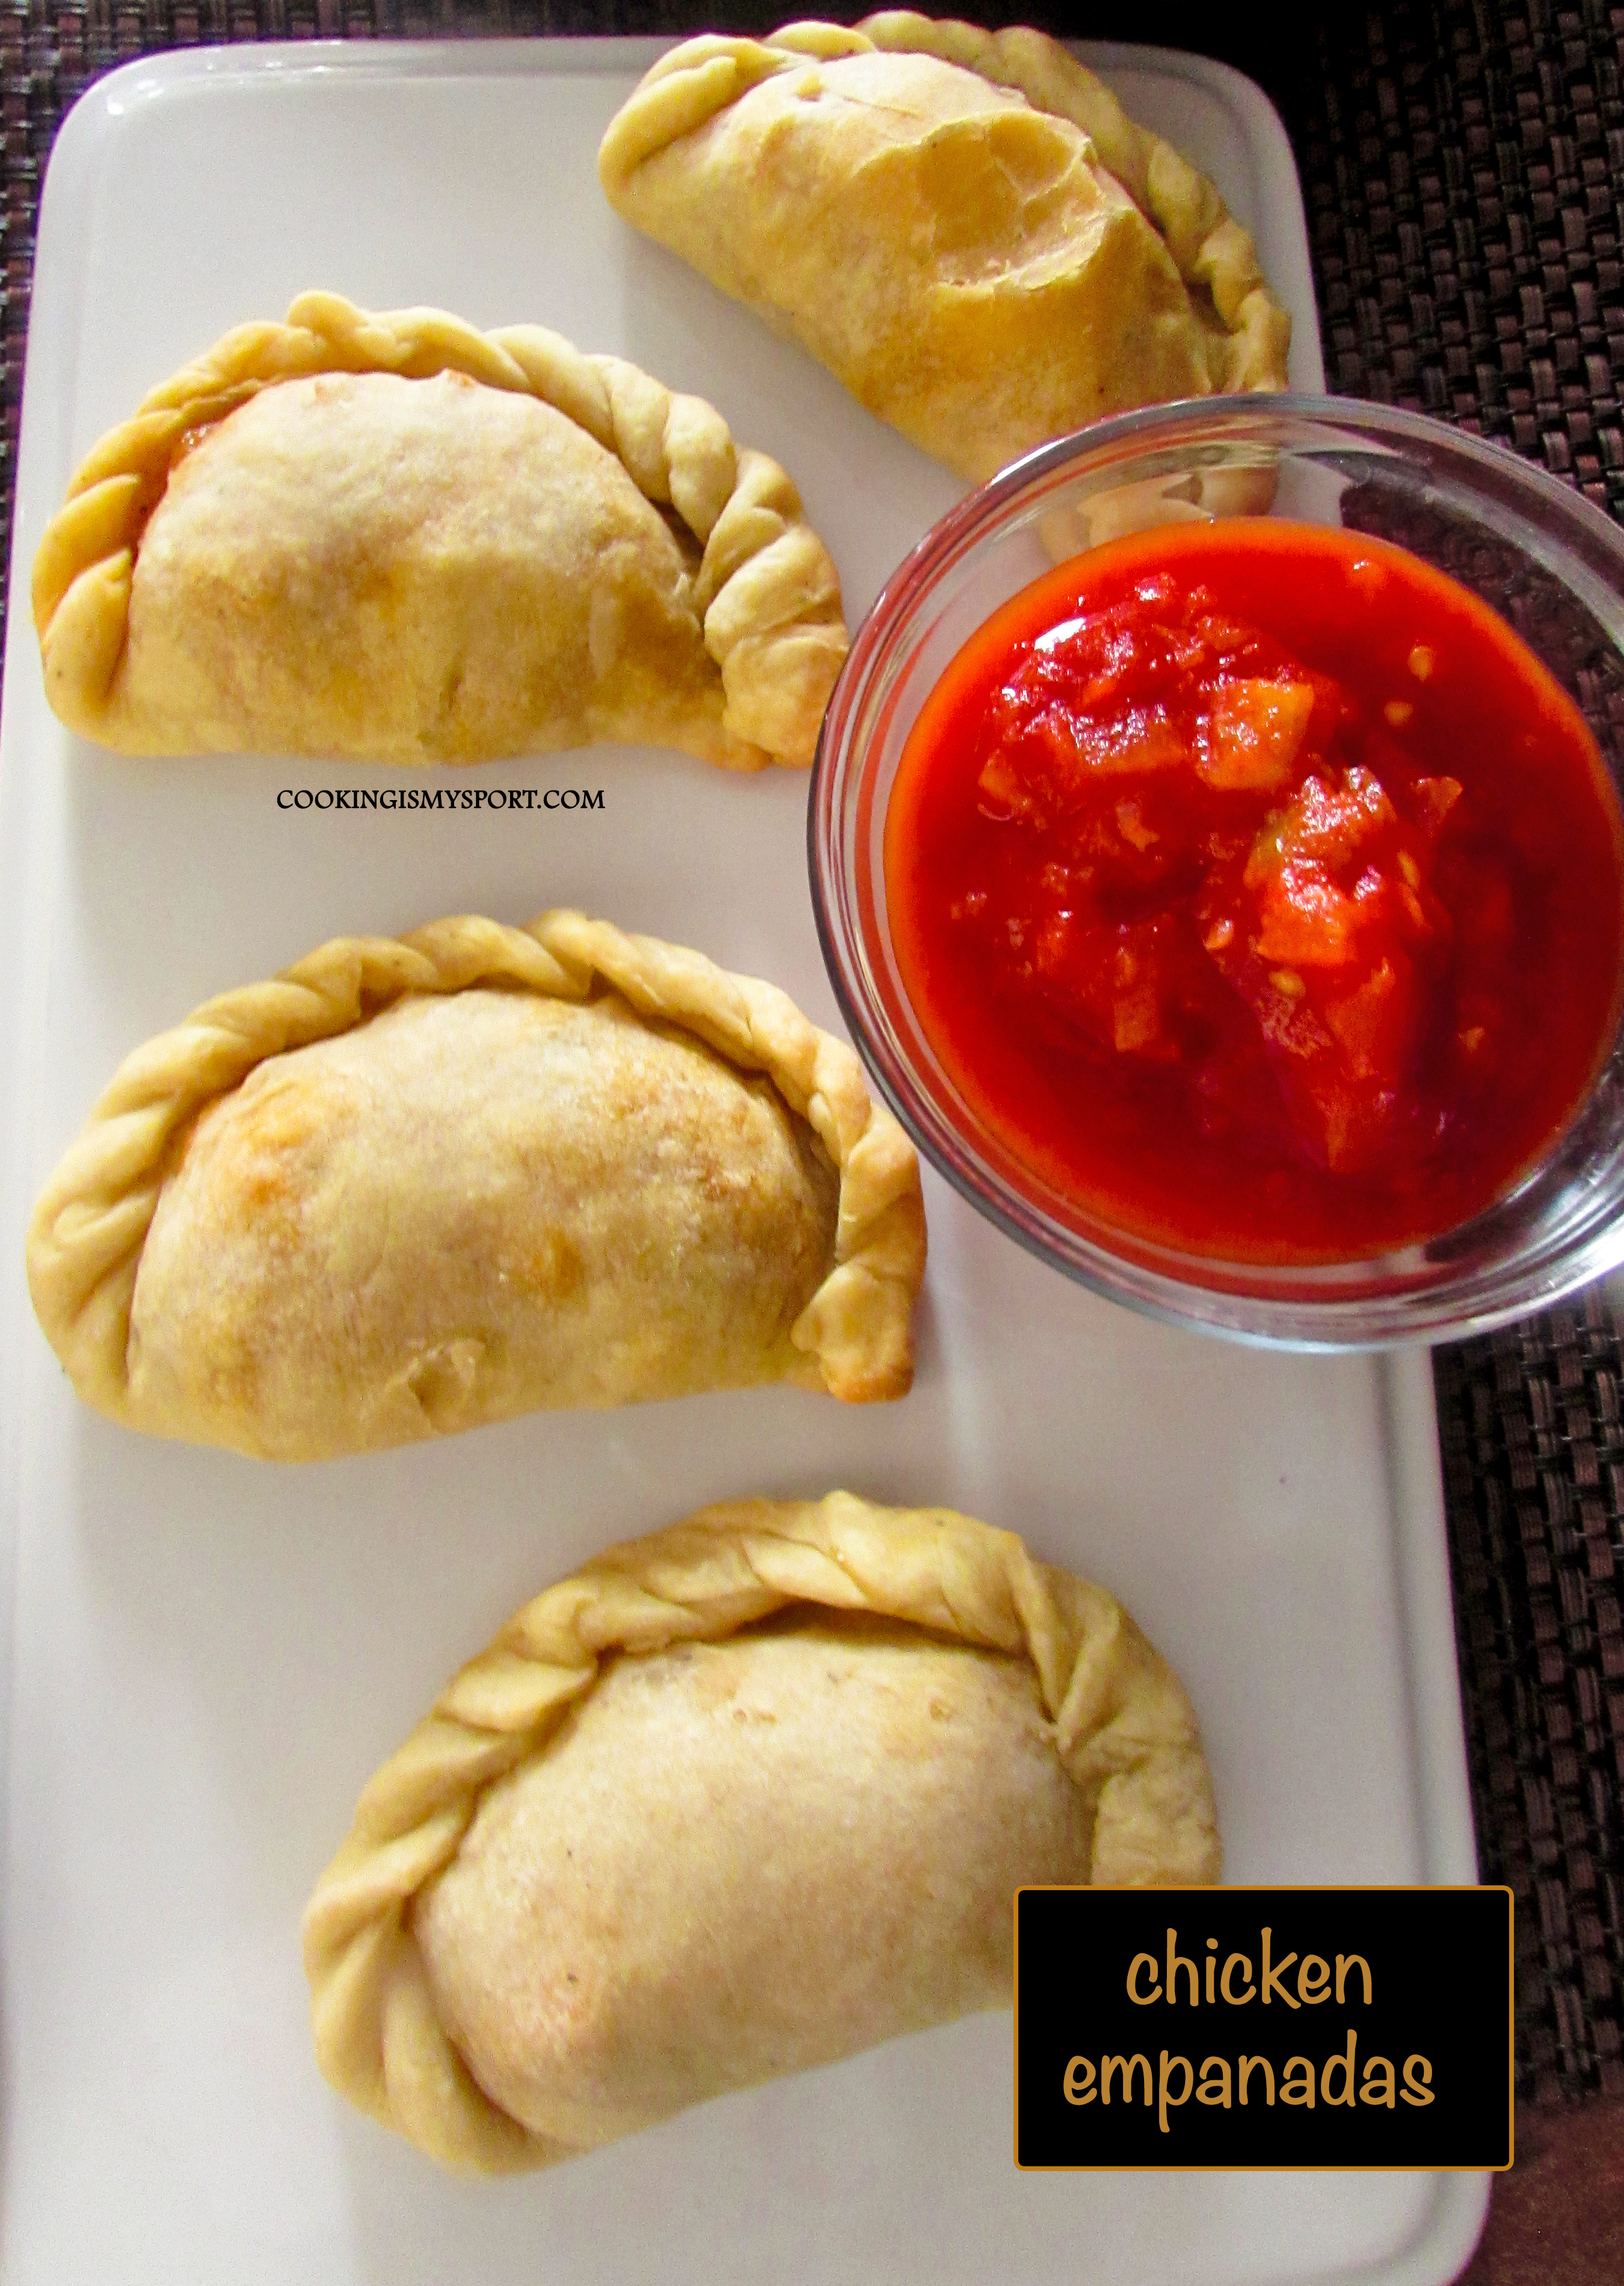
The key to flakiness of this crust is the shortening. It’s VERY easy to work with and roll out. I could obviously still use some more practice when it comes to my crimping/sealing skills, but that’s completely on me, not the recipe. Trust me, it really does melt in your mouth when you eat it.
Wear a mask. Social distance. Stay safe. Be Kind.
***************************************
Filling recipe by Jess@CookingisMySport, Pastry recipe courtesy of The Kitchn Ingredients For Chicken Filling For Pastry Directions For filling: Preheat oven to 350 degrees Fahrenheit In a small bowl combine the taco/fajita seasoning with 1/3 cup of the flour. Place the cubed chicken in a gallon sized resealable plastic bag. Pour the flour-seasoning mixture over the chicken and seal the bag. Toss the bag to season the chicken in the flour until evenly coated. Pour a tablespoon of oil (canola, vegetable or olive) in the bottom of a Dutch oven or pot. Sear the chicken over high heat, just to get a crust on the outside of it (it doesn’t need to be cooked through here). Remove the chicken to a 13 x 9 baking dish and keep loosely covered. (you may need to do this in batches). When the chicken has finished searing, pour a bit more oil into the bottom of the pot and saute the peppers and onions over medium heat until they are soft and translucent. Remove them to a bowl and set aside. Sprinkle the 2 tablespoons of flour into the pot, and allow to toast for about 2 minutes. Pour in 16 oz of the chicken broth and stir briskly with a whisk or fork until flour is dissolved and a smooth and somewhat thick ‘gravy’ forms, then pour in the other 16 oz of broth. Season the mixture with the cumin, smoked paprika, honey and salt and pepper. Allow to come up to a boil, then reduce to a simmer and cook uncovered until mixture thickens, about 10 minutes. Taste and adjust for seasoning. Pour the gravy mixture over the chicken. Tightly cover with aluminum foil and bake for 30-40 minutes, or until chicken is fork tender. Remove the chicken from the baking dish and mix with the sauteed onions and peppers. Refrigerate overnight to allow flavors to meld and for the filling to completely chill. For crust: Place 3 cups of the flour, salt, and sugar in a large bowl. Use a box grater (or cut it up into small cubes) to cut the shortening/lard into the dry ingredients. Stir together with a fork. It should have a sandy texture. Whisk the egg, water, and vinegar in a small bowl until combined. Make a well in the flour mixture and pour in the wet ingredients.Continue mixing until the mixture resembles coarse crumbs. Empty mixture onto a lightly floured work surface and use your hands to shape it into a rough ball. Using the heels of your hands, gently knead the dough into a smooth, elastic ball. Wrap the dough in plastic wrap and refrigerate for 1 hour, or overnight. Lightly flour a clean, large work surface and a rolling pin. Roll the dough out to about 1/8-inch thick. Using a 4-inch-round pastry-cutting mold, cut circles from the dough. (Alternatively use a knife and trace around a 4-inch plate to form the circles.) Gather the dough scraps and form into a ball again. Roll out the dough and cut more circles. (If the dough springs back and is difficult to roll out, let it rest before rolling again.) Makes about 16 dough circles. Line 2 baking sheets with parchment paper.Take 1 of the cut circles and and place 2 heaping tablespoons of the filling in the center. Brush the edges of the empanada with the beaten egg. Fold the circle in half to form a half moon and seal the edges together with a fork or pinch with your fingers. (Be mindful when sealing to squeeze out any air pockets.) Place on the baking sheet. Repeat with the remaining dough circles, spacing the formed empanadas a few inches apart. Chill the formed empanadas for 20 minutes before baking. Meanwhile, arrange 2 racks to divide the oven into thirds and heat to 375°F. Place both sheets in the oven and bake for 10 minutes. Rotate the sheets front to back and top to bottom, and continue baking until the empanadas are golden-brown, about 10 minutes more. Let cool a few minutes before serving with salsa.Chicken Empanadas

Linking to Fiesta Friday #363, co-hosted this week by Jhuls @ The Not So Creative Cook.


Aren’t these beautiful!
Oh thank you! I actually felt like my crimping was messy and not the best to photograph. But the food itself tasted good, so I posted the recipe anyway lol. Thank you Dorothy 😉
They are so pretty. Used to attempt calzones and my son said they looked like UFO’s 🙂 This recipe sounds great!
Thank you! I know others who can crimp so much better than me, I’m trying to work on the technique. But one thing I do I have down are the flavors, so that’s something 🙂
Beautiful crimping! Yummy too! 🙂
Thanks Josette 🙂
Drooling over the photos!! Your chicken empanadas look so good and perfect! Thanks for sharing at Fiesta Friday party!
Thanks Jhuls–Happy New Year, hope you’re doing well 😀