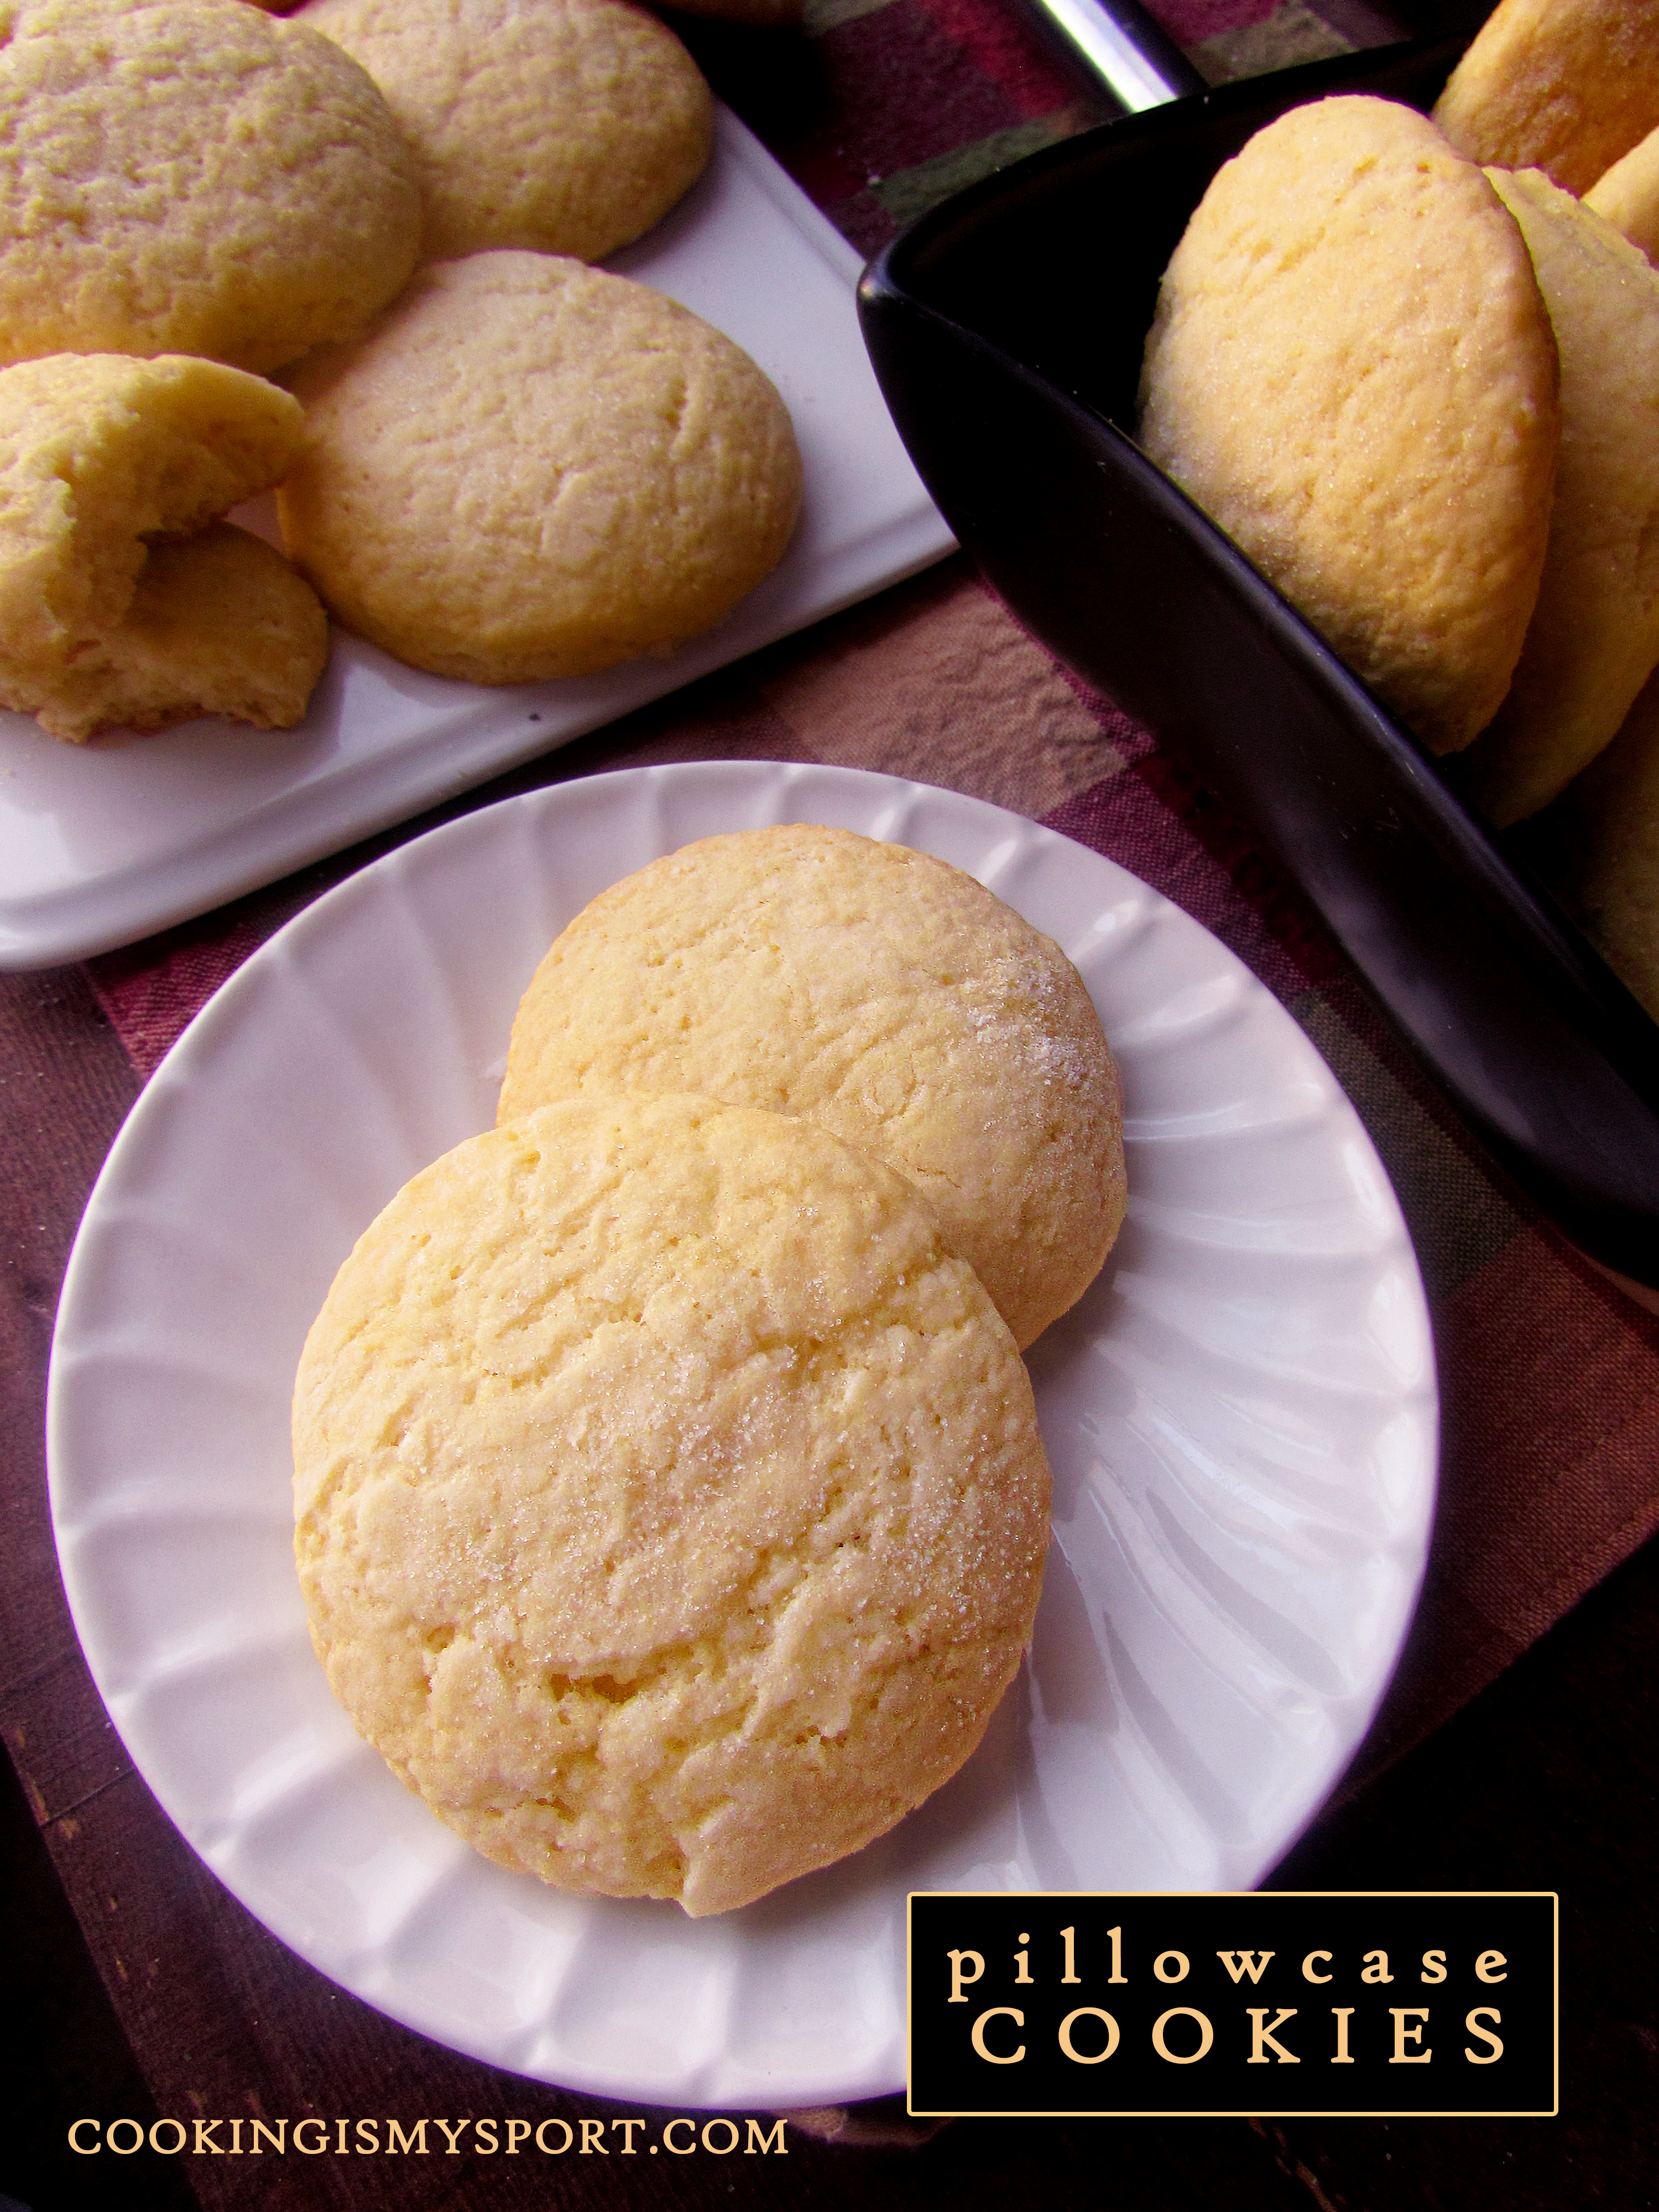
Pillowcase Cookies

Happy New Year everyone. I hope 2018 is off to a good start for all of you, and that you’re feeling at least a little optimistic for the year.
Okay, so…I try to stick to a pattern in my posting schedule so that I’m not posting more sweet than savory or vice versa–variety being the spice of life and all. The 12 Days of Christmas series is usually enough of a sugar rush/overload for me where I need a break from making & eating sweets and for a while stick to savory and relatively healthy recipes on the blog.

Having said that, you all should know that I did intend to hold off on posting any sweets or baked goods for at least a few weeks, but well…here we are. Thing is, I’ve had this post sitting in my Drafts folder since August and I just couldn’t put off sharing it any longer.
You guys need to see (and make) these. You REALLY do.
If you know anything about my food preferences, you know that sugar cookies are in my Top 3 of favorite desserts. A good sugar cookie–one that is so good it doesn’t even need any embellishments from icing or glaze– just can’t be beat.
Some people like their sugar cookies crisp. Some like them chewy. Some like a combination of the two. Some like them to have a vanilla flavor. Others prefer almond.
I make my stance on this highly contested, divisive issue, loud and clear: I love and must have my sugar cookies thick and soft. I don’t mind almond extract in the dough, but the vanilla needs to be the star flavor for me.

The sugar cookies that I’ve posted on the blog thus far have met all of the above criteria. The first (and also, the most popular post on the blog to date) were these cut-outs. I’ve also shared two vanilla sugar cookies that are good for cookie stamps and molds, here and here.
As delicious as all of these recipes are, they do fall short in one area.

Although they’re all thick and soft, they’re still missing what I think of as the ‘cloud’ factor; where the texture of the cookie is SO light and soft that when you’re biting into it, you feel like you’re biting into a fluffy cloud of pure heaven. I’ve tried a lot of sugar cookie recipes that claim they deliver these goods, only to be disappointed because they just didn’t.
Guys. This recipe de-LIVERS.

I had my doubts before I made these just because the method is unlike any method I’ve ever done when putting together cookie dough. Rather than being creamed or melted, the butter actually gets cut into the dry ingredients just like it is when making biscuits and scones. The eggs get beaten together with the vanilla and a little milk, then folded into the butter-flour mixture. I have no idea why this is. I have no idea how it works together with the rest of the ingredients. All I know is that it works. It works so well.

As a Southern recipe, this one supposedly gets its name from when the cookies would be given out to journeymen to store in their pillowcases by their families as they traveled around doing work. I’d certainly be a happy camper (or journeyman) if I had a pillowcase full of these to eat.
My favorite thing about the cookies is their texture. It’s just perfect. They rise with a perfect dome and have that thick, soft, fluffy center that practically melts in your mouth. And, no: they absolutely don’t need any help from icing or glaze. These are delicious enough to eat all on their own. This is THE sugar cookie of my dreams, the one I’ve been searching for–which is why I just had to share it with all of you now.
Linking this up to Fiesta Friday #205, co-hosted this week by Mollie @ The Frugal Hausfrau and Petra @ Food Eat Love.
*************************************************
Pillowcase Cookies
Recipe Adapted from LouisianaCookin.com
Ingredients
- 2 1/2 cups all purpose flour
- 1 cup white sugar, plus more for sprinkling
- 2 1/2 teaspoons baking power
- 1/2 cup (1 stick) cold unsalted butter
- 1 large egg plus 1 egg yolk
- 2 tablespoons milk, plus more as needed
- 2 teaspoons vanilla extract
Directions
In a large bowl, combine the flour, 1 cup of sugar and baking powder and stir together with a fork.
Use the large holes on a box grater to grate the butter directly into the dry ingredients. (If you don’t have a box grater that’s okay. Just cut the butter into small cubes and stir them evenly into the dry ingredients with a fork.)
Stir the butter into the dry ingredients until the mixture resembles coarse crumbs. Use a rubber spatula to make a well in the center of the bowl. In a small bowl, whisk together the eggs, milk and vanilla extract with a fork, then pour into the well you made in the dry ingredients. Flour the rubber spatula and mix together, stirring until the liquid has been absorbed and it forms a slightly sticky dough. (You may need to add additional milk, 1 tablespoon at a time to make it all stick together; that’s fine.)
Generously sprinkle a clean work surface (like a pastry mat, a cutting board or wax paper you tape to your countertop) with flour. Dump the dough out onto the surface and knead together with your hands just until it forms a large ball. It will get messy, but that’s okay; just keep sprinkling with either flour or powdered sugar until it’s relatively easy to pick up in one mass.)
Wrap the dough in plastic wrap and refrigerate for at LEAST one hour.
Preheat oven to 350 degrees Fahrenheit. Line two sheet pans with parchment paper or aluminum foil and spray with cooking spray, set aside. Using a floured rolling pin, roll the dough cookie dough out to about 1/4 inch thick, then use a 3 inch cookie cutter to cut out circles. Place the cut cookies on the sheet pans. Either refrigerate for about 45 minutes, or freeze for about 20 minutes.
Sprinkle the tops of the cookies with sugar, then bake in the oven for 12 minutes until golden brown on the bottom & slightly puffy on the tops. Allow to cool on the sheet pan for 1 minute, then remove to wire racks to allow to cool completely.
(Note: no one oven is the same, & different baking sheets bake cookies differently. Keeping this in mind, I will ALWAYS test bake one cookie before baking entire sheets of the whole batch, just to get a good idea of how long they should be in the oven and if I need to adjust the way I’ve cut, rolled them out, etc. I highly recommend that you do the same.)


I was sold on the pictures alone. I have to try it. Love sugar cookies.
Thank you! I love sugar cookies as well–these photographed as well as they tasted 😉
Aww…Yum 😋
Hello, these look very good, wrote out the recipe, will make in a week or so. Thank you for sharing the recipe.
Awesome! I hope you like the cookies. Thanks for stopping by!
These look yummy and I love baking cookies! Saved your recipe so I can try making a batch of these. Thanks for sharing the recipe. Happy New Year! 🙂
Thanks Joann, I think you’ll really like these. Happy New Year to you too 🙂
Amahzing.
Thank you!
Oh my gosh, I am sooo glad you shared this! I think I had a cookie like this once and never they were called Pillowcase Cookies (gotta love that) and lost the recipe and lost contact with the person who made them – and I think of them every now and then.
I am so baking these!!
You’re really going to like these Mollie, thanks 😉
I’m making them and sending them to the folks after I sample, hopefully, just one!!
A tasty treat for sure!
Thank you, that it is 😉
You know that I love anything sweet & cookies! 😀 These are so perfect, Jess!! I wish you could pass me some. 😀
Would if I could Jhuls–thank you!
Love the name and that it has seven ingredients only! 🙂
Thanks, it’s a simple recipe but it churns out some amazing cookies.
beautiful cookies! they look soooo tempting! Perfect for Fiesta Friday 🙂
Thank you very much 🙂
Looook at this!! Holy cow I can see the fluff factor through my screen, great pictures!!
I’m more of a savory girl but if I were a sugar type, I would def be making these!
xx
Thanks sis, I love the texture that came through in the pictures. Best part of the cookies 😉
Agreed!!
Looks great. Will definitely try
Awesome. Thank you, I hope you like them 🙂