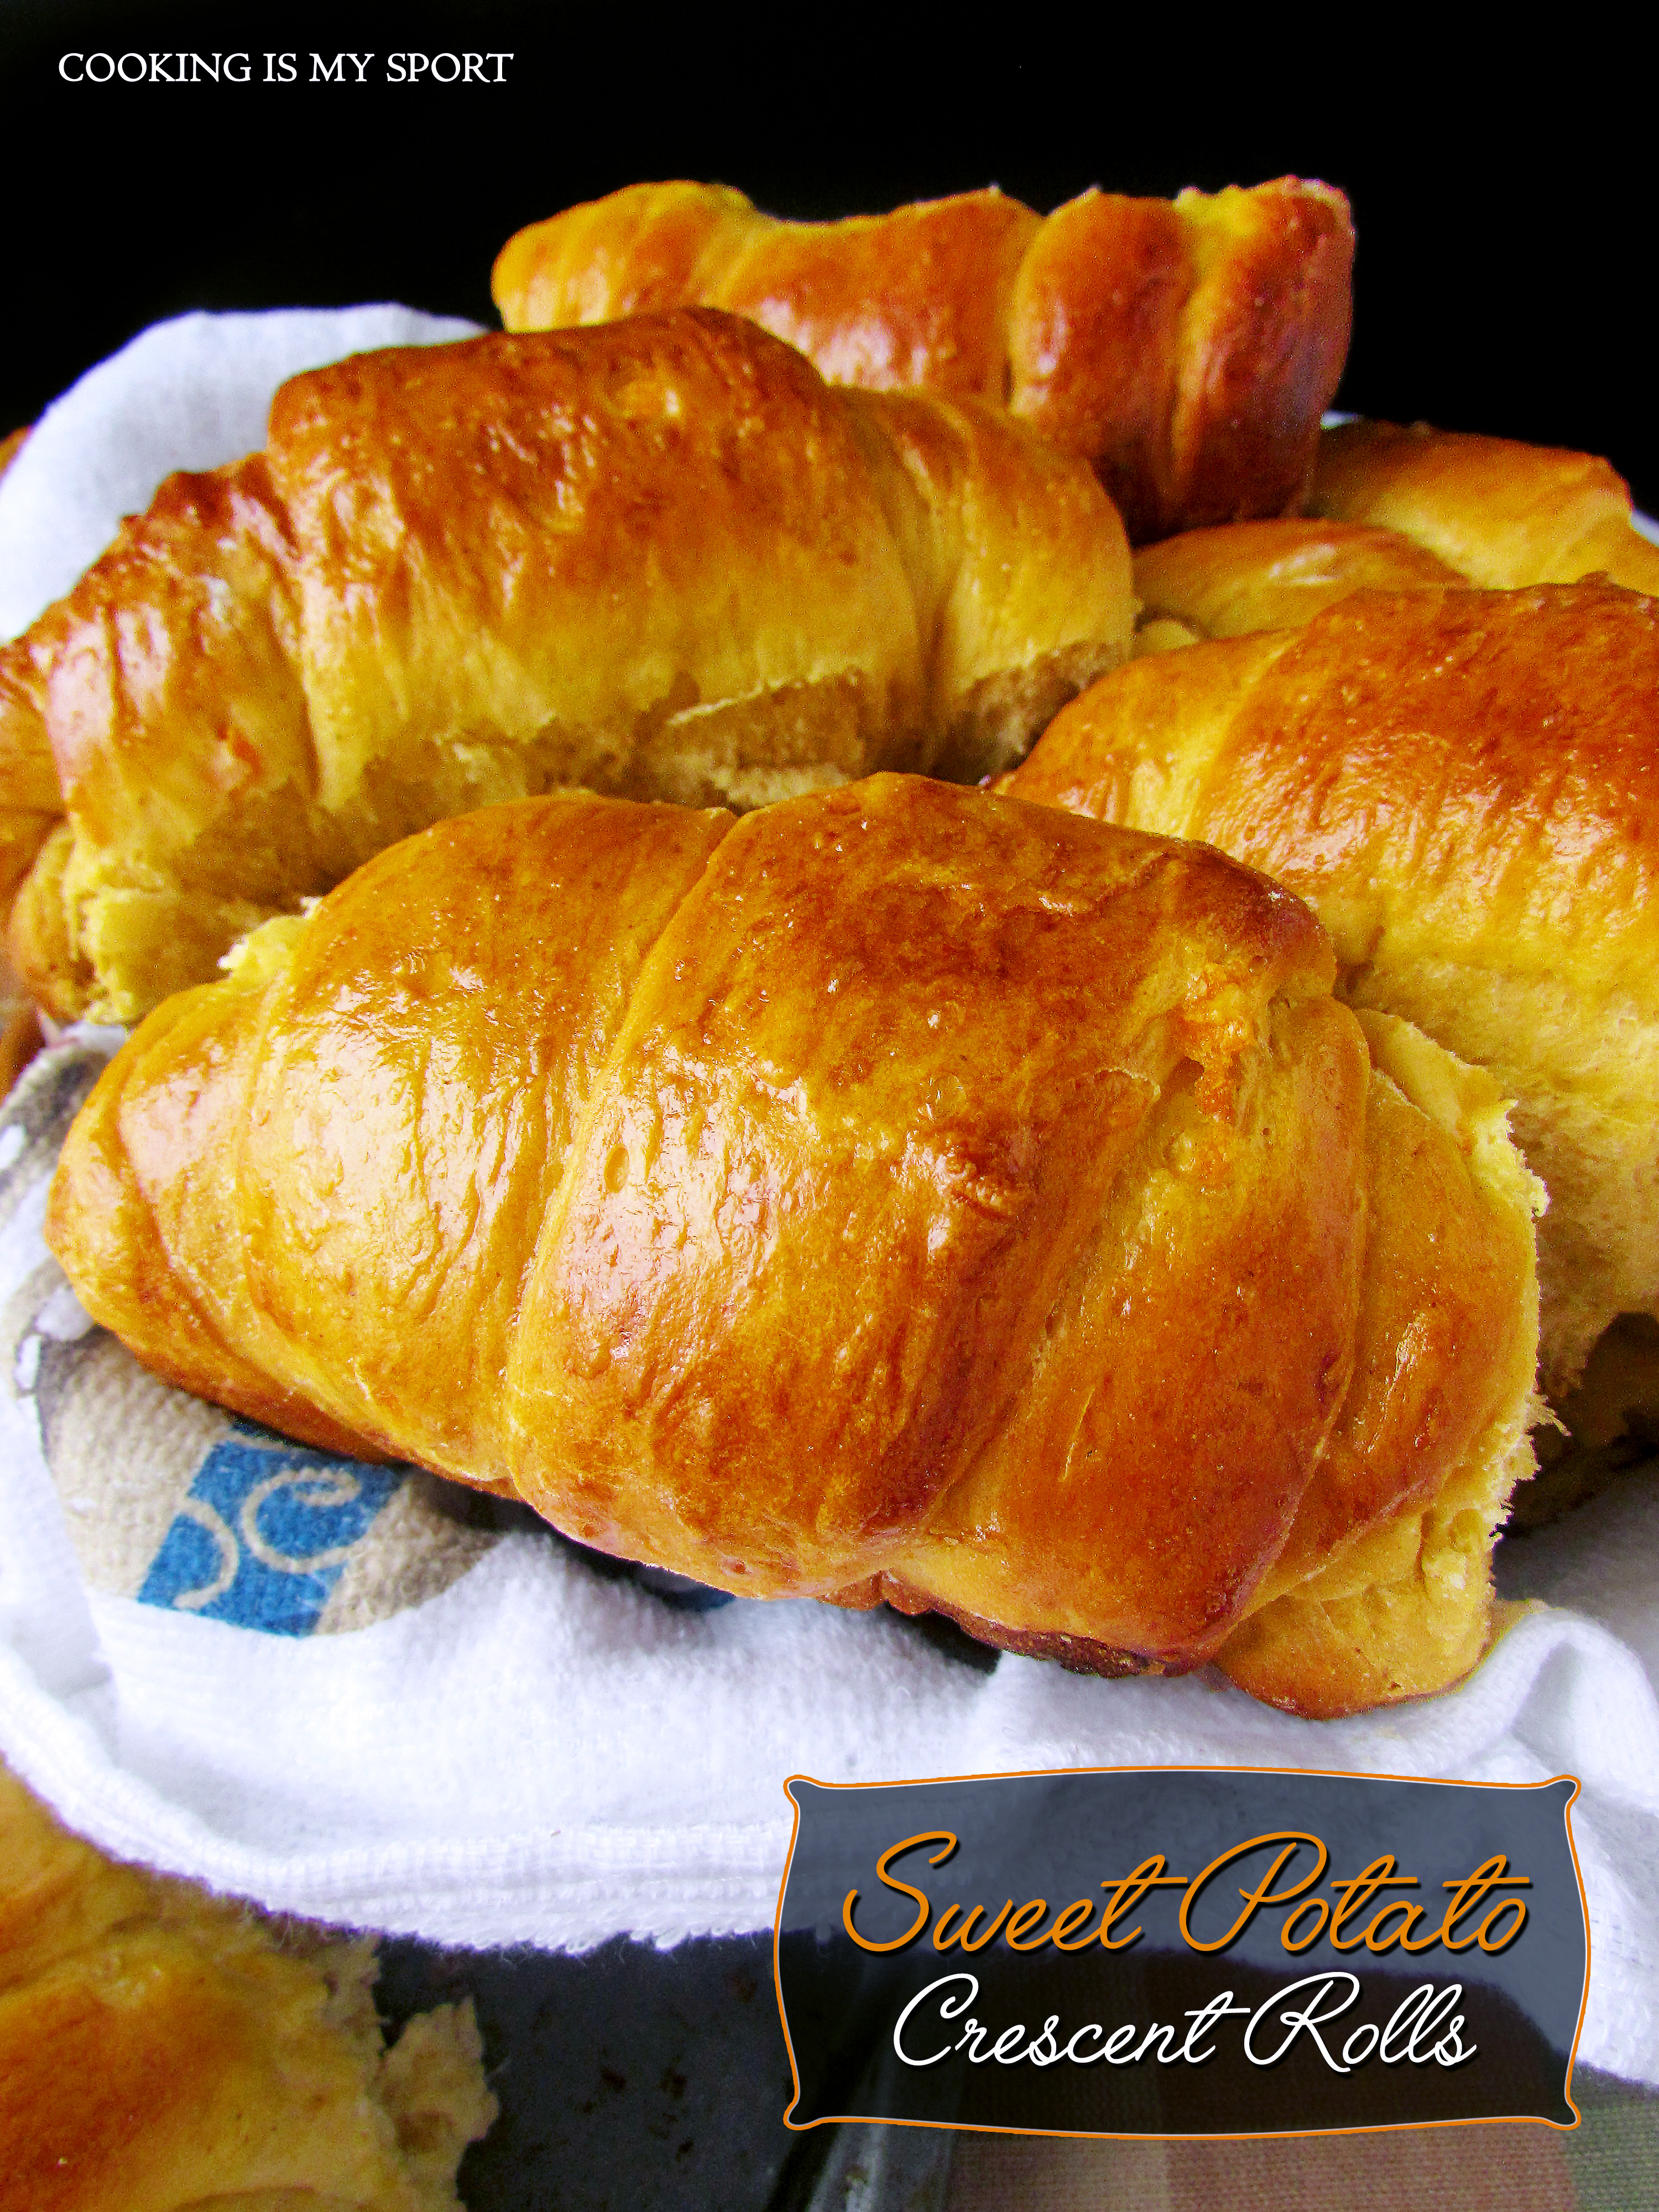
Sweet Potato Crescent Rolls

One of things that I am really proud of myself for learning how to do in the kitchen is bake fresh bread. It takes some getting used to in the beginning, and to be honest there are still things I have to learn but once you get the hang of it, going back to store bought bread pretty much becomes impossible. I can’t really explain in detail what the difference is, but I suspect that is has something to do with the preservatives found in store bread, especially white bread. I can literally taste the preservatives they put in it- it almost leaves a sour aftertaste in my mouth that’s just really unpleasant, so I don’t even touch the stuff anymore. If I’m eating white bread at all, it’s only because I made it myself first. The aftertaste of THAT stuff is pretty darn good if I may say so myself. But my point is, whenever we run out of bread in my house, I know that I just have to make some more. Needless to say, I’m always on the lookout for new yeast bread recipes to try out just to keep things around here interesting.

I remember it was about a year or so ago where I was writing up a post complaining about how I was struggling to get my yeast bread doughs to rise on sheet pans. It just wouldn’t work, and frustrated me to no end. Whenever I shaped and set my dough out for its second rise on the sheet pan, most time it just barely expanded, if at all. I couldn’t figure out what I was doing wrong, especially whenever I would make the bread in round pans or in pyrex glass dishes, it worked out beautifully. For a while, I just avoided baking bread in sheet pans altogether, but recently I decided to try and get back on the horse again and slightly tweak my methods in the second rise to see if that would yield different results. These crescent rolls were my guinea pigs.
How do you guys think I did?

Well I’ll just go ahead and say it if you won’t: I think it turned out rather well. Here’s what I changed in case you were curious.
See, in the past what I was doing was using very large sheet pans for my second rise and spacing the rolled out dough pretty far apart from each other. I’m no food scientist like Alton Brown or the folks at America’s Test Kitchen but what I THINK was happening in my previous attempts was that rather than expanding ‘up’ on the second rise and giving that heightened fluffiness that you see in the above picture, my dough was expanding ‘out’ since there was so much space between each individual one and giving it the appearance of being flatter. Now is it possible that the dough would eventually rise and become taller? Yeah probably, but I do think that it would’ve taken longer than an hour or two so long as I was using the larger sheet pans.

So what I did this time around was use one of the smallest sheet pans that I had for my second dough rise, which left a much smaller space between each one of the crescent rolls- this way, the only place that the dough would have to ‘go’ when expanding would be ‘up’; get it? Also, I dampened a clean kitchen towel and placed it over the sheet pan of crescents, put the whole thing in my overhead microwave, then turned on my oven. The heat from my oven created a warmth inside the microwave that combined with the damp cloth created a humidity that made it into a kind of DIY proof-box, so to speak.
This time after the second rise, I was having the exact opposite problem that I’d been having with sheet pans all along: now, the dough had proofed and risen so well that they were all nearly crammed together slightly rising up over the pan itself. But I didn’t care about that: I was too busy doing Snoopy/Victory dances from finally overcoming my sheet pan-bread baking woes. Plus, who was I to get upset over jumbo size crescent rolls that baked up so golden and pretty like these ones did here? Nobody, that’s who.

Wait a minute; I’m completely forgetting that there’s vegetables in these crescents, which is crazy since the sweet potatoes are what give them the deliciously golden orange color. But they’re there: one whole cup of fresh sweet potato mash. Which, you know should make you feel pretty good about eating one of these…or two…or…another undisclosed amount.
….Why are you guys staring at me like that?
So I think the moral of the story here is that when encountering difficulties in the kitchen, just keep at it. Even if it doesn’t work the first, second or third time. I did. And I think my diligence was rewarded.
***************************************************************************
Sweet Potato Crescent Rolls
Recipe Courtesy of Red Star Yeast via Completely Delicious
Ingredients
- 1/4 cup honey
- 3 tablespoons unsalted butter
- ½ cup milk
- 3-4 cups all-purpose flour
- 1 packet (2 1/2 tsp.) Active Dry Yeast
- 1 teaspoon salt
- ½ teaspoon freshly grated nutmeg
- 2 large eggs
- 1 cup (about 1 medium) sweet potato puree
Directions
1. In a small saucepan set over medium low heat, warm the butter, honey and milk until butter is melted and mixture begins to steam. Do not boil. Remove from heat and let sit 5 minutes, or until the temperature is between 120-130 degrees F.
2. In the bowl of a stand mixer fitted with a dough hook, combine 1½ cups of the flour with the yeast, salt and nutmeg. Add the milk mixture and mix until combined. Add the eggs one at a time, mixing after each, followed by the sweet potato puree. With the mixer on low, add the remaining flour ¼ cup at a time until dough clears the side of the bowl but is still slightly sticky to the touch. You may not need all 4 cups of flour.
3. Continue to knead the dough in the mixer until it is smooth and elastic, about 5-8 minutes. Place dough in a greased bowl, cover with plastic wrap, and let rise in a warm place until doubled, about 1 hour.
4. Gently punch down dough and knead a few times. Cover it with the plastic wrap and let it rest for 15 minutes.
5. On a clean surface roll the dough out into a 16-inch circle. Using a pizza slicer, cut the dough into 12 equal pieces. Working with each piece individually, roll the dough up starting with the fat end. Place the roll on a sheet pan lined with parchment paper so the skinny point is on the bottom. Cover with plastic wrap and rise again for 30 minutes.
6. While the rolls are rising, preheat the oven to 375 degrees F. Bake rolls until they are golden brown, about 20 minutes.


Your rolls looks absolutely delicious! I still can’t believe that there sweet potatoes in the recipe! That must make it healthy, right?! I’ve always been a little intimidated when it comes to baking bread, but you certainly make it sound easy Jess!
Absolutely it makes them healthy Heather- at least that’s what I keep telling myself lol
Baking bread is intimidating for everyone in the beginning, me included, but the more you do it, the better it gets. Thanks you!
They look so cute and delicious!
Thanks Serena 🙂
Yes…I think you were extremely successful, Jess! Beautiful crescent rolls. 🙂 I can only imagine the sweet potato enhanced rolls taste fantastic too!
It was really a good ingredient to add Nancy, I’m surprised I haven’t tried it up until now, but I’l definitely be using it in the future. Thank you!
Look’s sooooo good!!!
Thank you- they ARE 😉
Oh my those rolls are beautiful. They look so soft and delicious. Bread especially warm from the oven is one life greatest pleasure. You really made some amazing rolls.
Thanks Suzanne- I have to agree with you about bread. It’s one of the great ‘loves of my life’ lol
I can only dream and imagine what the aromas were like the day you baked those beautiful rolls. If at first you fail, try and try again, and you’ve done that in strides! Great job!
Thanks Loretta- it smelled like a bakery, one of the best smells in the world 😉
Your bread looks amazing Jess. Even better than bakery made. The glaze on top and the airy light look inside. Just as it should be. This recipe is going into my bookmarks and I am trying it as soon as I get hold of sweet potato.
Aww thanks- I was really happy with how they turned out and I strongly recommend you give it a shot for yourself 🙂
I really want to ☺
Wow! I am so impressed! These look unbelievable. I can’t even imagine how good they must have tasted. What you’re saying about the rising makes sense. I never would have thought of that though. I have so much to learn about bread making. Great job, Jess!
Thanks Shari- I’ve learned A LOT through trial and error and there’s still more I can improve on, trust me.
What a great idea!!
Thanks Lori!
All makes perfect sense to me, I’ve done the same when proving bread and its grown outwards instead of upwards! Your rolls look gorgeous and I love what you’ve put in them 🙂
Thank you Elaine!
they look so cool!
Thanks, I have to agree 🙂
I just love homemade breads! The sweet potato is a nice addition too, it’s always nice to change things up. Your “proof box” sounds similar to mine. I used to microwave a mug of water to boiling and then out the dough in the microwave with a towel on top. The steaming water kept it warm and moist. My new oven now has a proof setting, yeah!
I’ve done that trick too with great results- you’re SO lucky to have an oven with a proof setting. Thanks 😀
These look AMAZING!!!
Thank you Debbie, they taste just as good,I promise!
This bread has such a gorgeous colour – the addition of sweet potato is such a good idea.
Thank you Hilda, my favorite part is the rich golden color the potatoes give the bread…besides the taste that is 😉
Wow these looks incredible… 🙂
Thank you Chitra!
Hi Jess, this looks fantastic! Would love to have some for my breakfast now. 😉 I love sweet potato and looking forward to trying your recipe. 🙂 Best, Qin
Thanks Qin- I really think you’ll like this 🙂
Again, the presentation is amazing and I am totally drooling and starved. These are glorious, Jess!